

This post may contain affiliate links. You can read my full affiliate disclosure here. Thank you for your support!
Easy Knit Christmas Tree in 6 Sizes – Full Tutorial
A knit Christmas tree is a fun and easy way to decorate your home this holiday season. This project is perfect for those who enjoy making homemade decorations that can be enjoyed for years to come.
This Easy Knit Christmas Tree tutorial for making these charming trees is easy to follow. It can be knit by beginners, or by those who have years of experience with knitting.
Ready to start? Grab your needles and let’s get knitting!
What is a Knit Christmas Tree?
Knit Christmas trees are a lovely addition to your collection of holiday decorations. They’re usually handmade by a knitter, and they can be kept for years, making them great heirloom decorations.
If you’re new to knitting, these simple trees are a fun way to try out your skills. Because they’re a small project, they don’t require a huge time commitment or any fancy supplies.
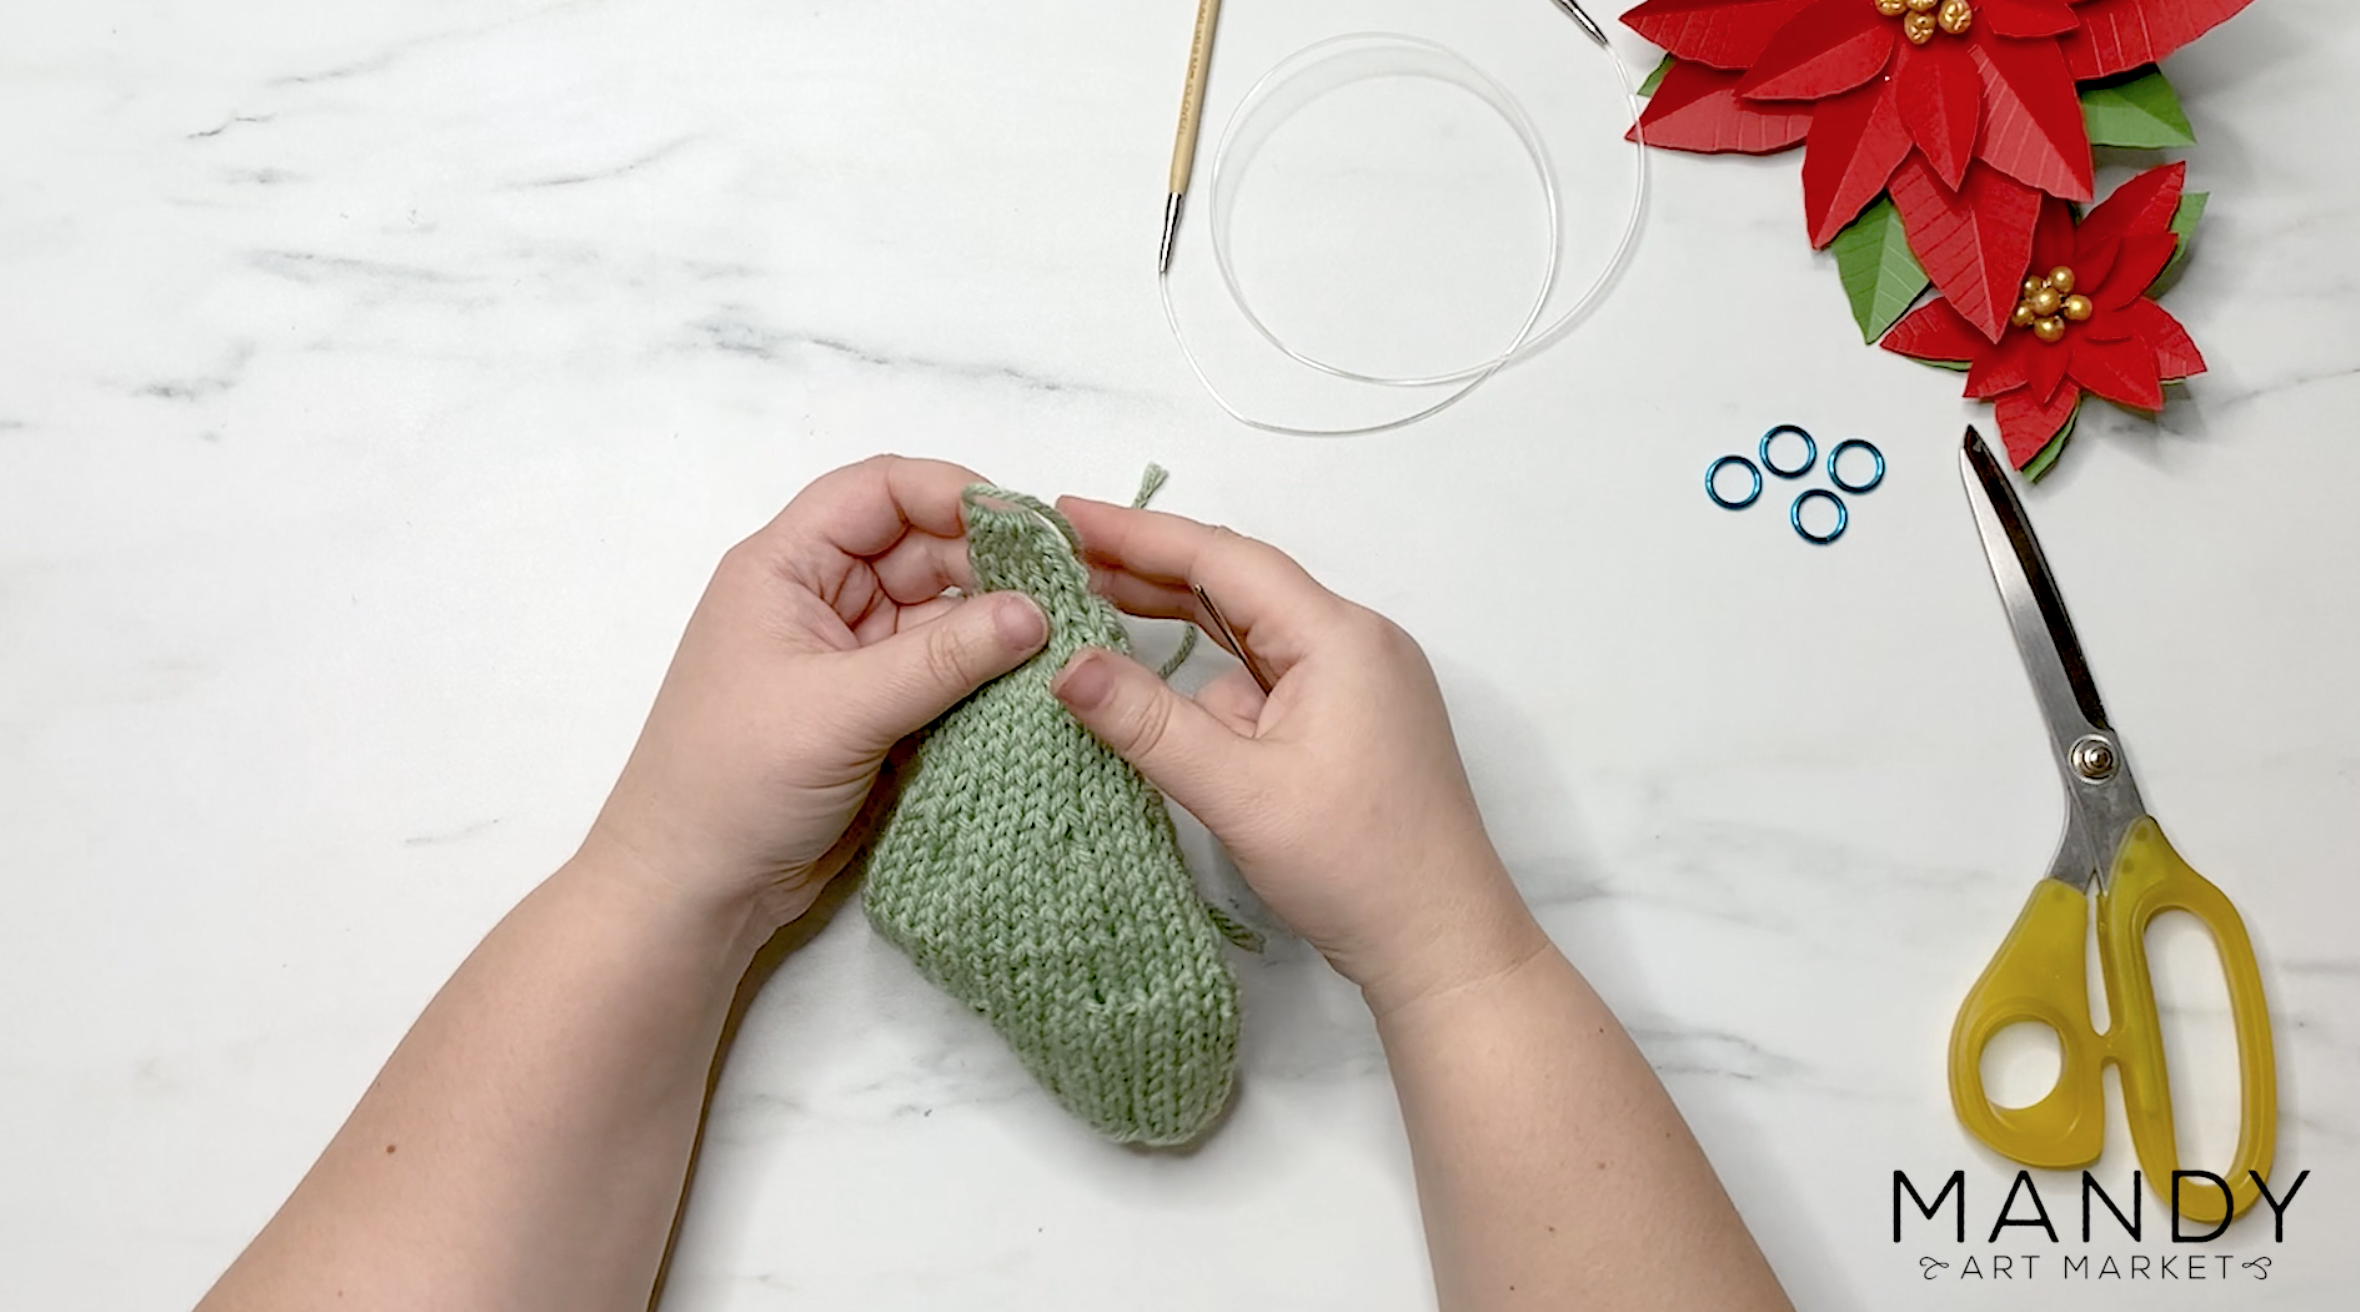
A finished knit Christmas tree is very much like a knitted sweater, minus the neck and arms of course. It is created by knitting stitches of yarn into a cone shape. The knit Christmas tree is displayed by placing the knit fabric shape over a foam or paper cone shape. There are generally no individual branches on a knit Christmas tree – it’s one solid cone shape.
Making a knit Christmas tree isn’t difficult. You only need a few simple supplies – if you’re a knitter, you probably already have them on hand. You can knit a tree using just a medium-weight yarn and a humble pair of circular needles (or a set of double-pointed needles).
Aside from how easy they are to make, what I love most about this project is how customizable it is. Your knit Christmas tree can be any size, and any color you like. You can use plain green acrylic yarn or something fancy with glitter in it. They look great grouped together with several different styles of knit Christmas trees (lots of examples here).
Where to Get the Knit Christmas Tree Pattern for Free
I created this pattern and tutorial to be both fun and easy to knit.
The tutorial below will walk you step by step through how to make these little guys. So grab some yarn and get your needles ready!
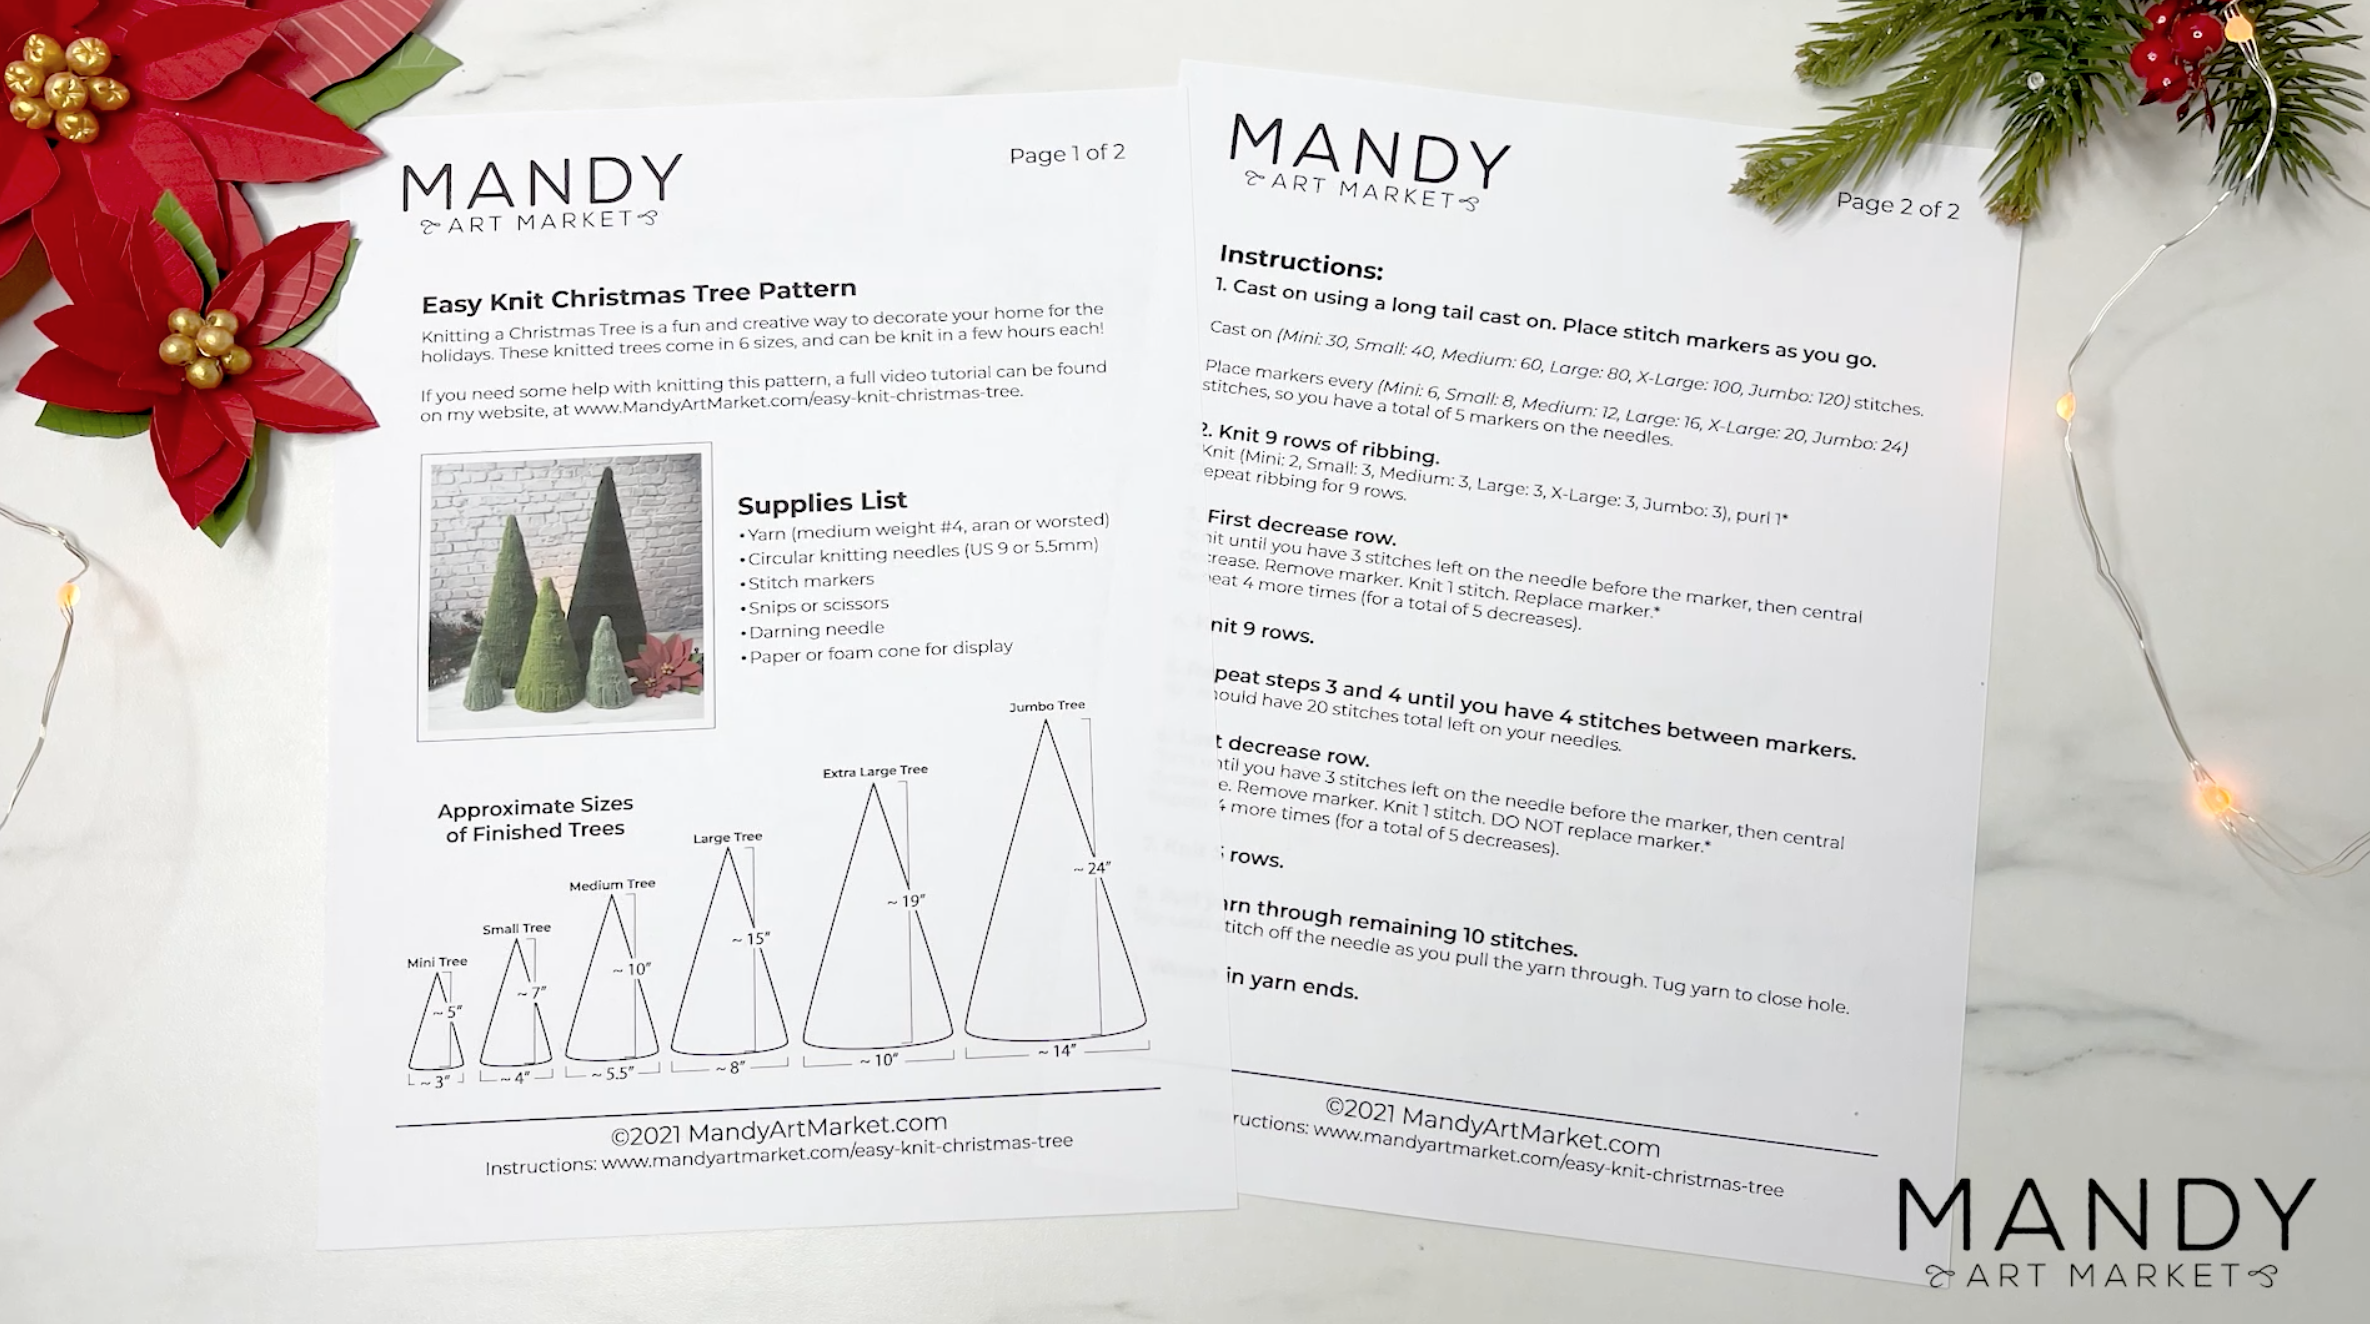
You can download the free knit Christmas tree pattern here.
Project Difficulty & Knitting Skills Required
Ok, so you want to make some knit Christmas trees of your own. This is not a particularly difficult project, but it does require a bit of basic knitting knowledge.
Here are the skills you’ll need to do it.
You need to know how to:
- Do a long-tail cast on
- Knit in the round (with circular needles or double pointed needles)
- Do basic knit stitch and purl stitch
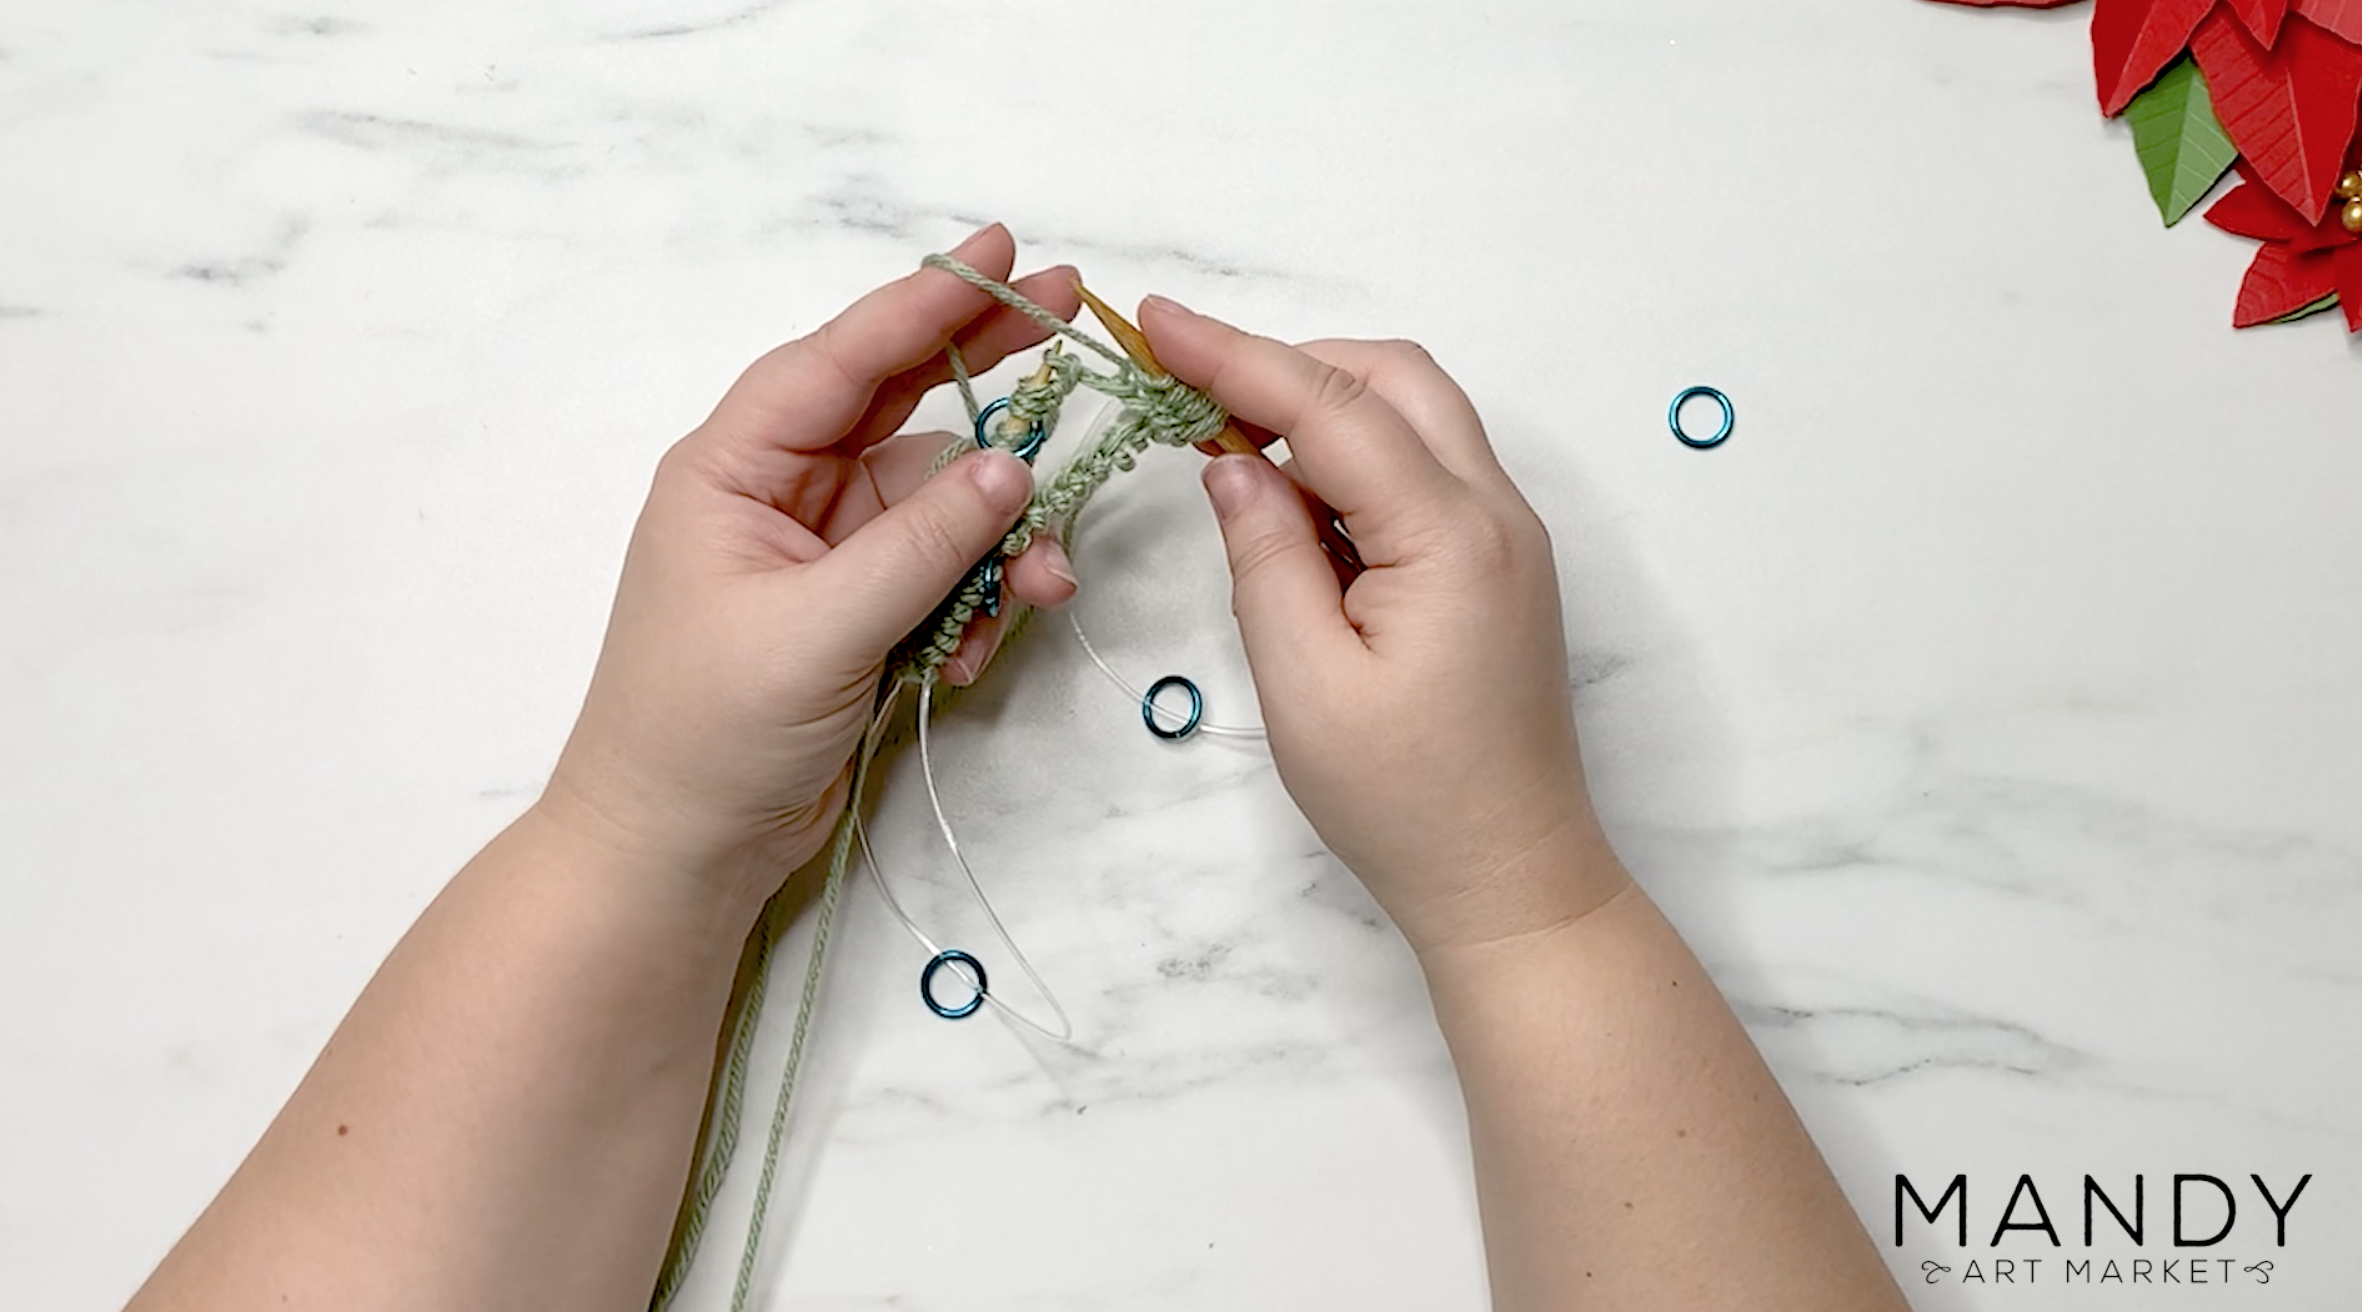
- Do a central decrease
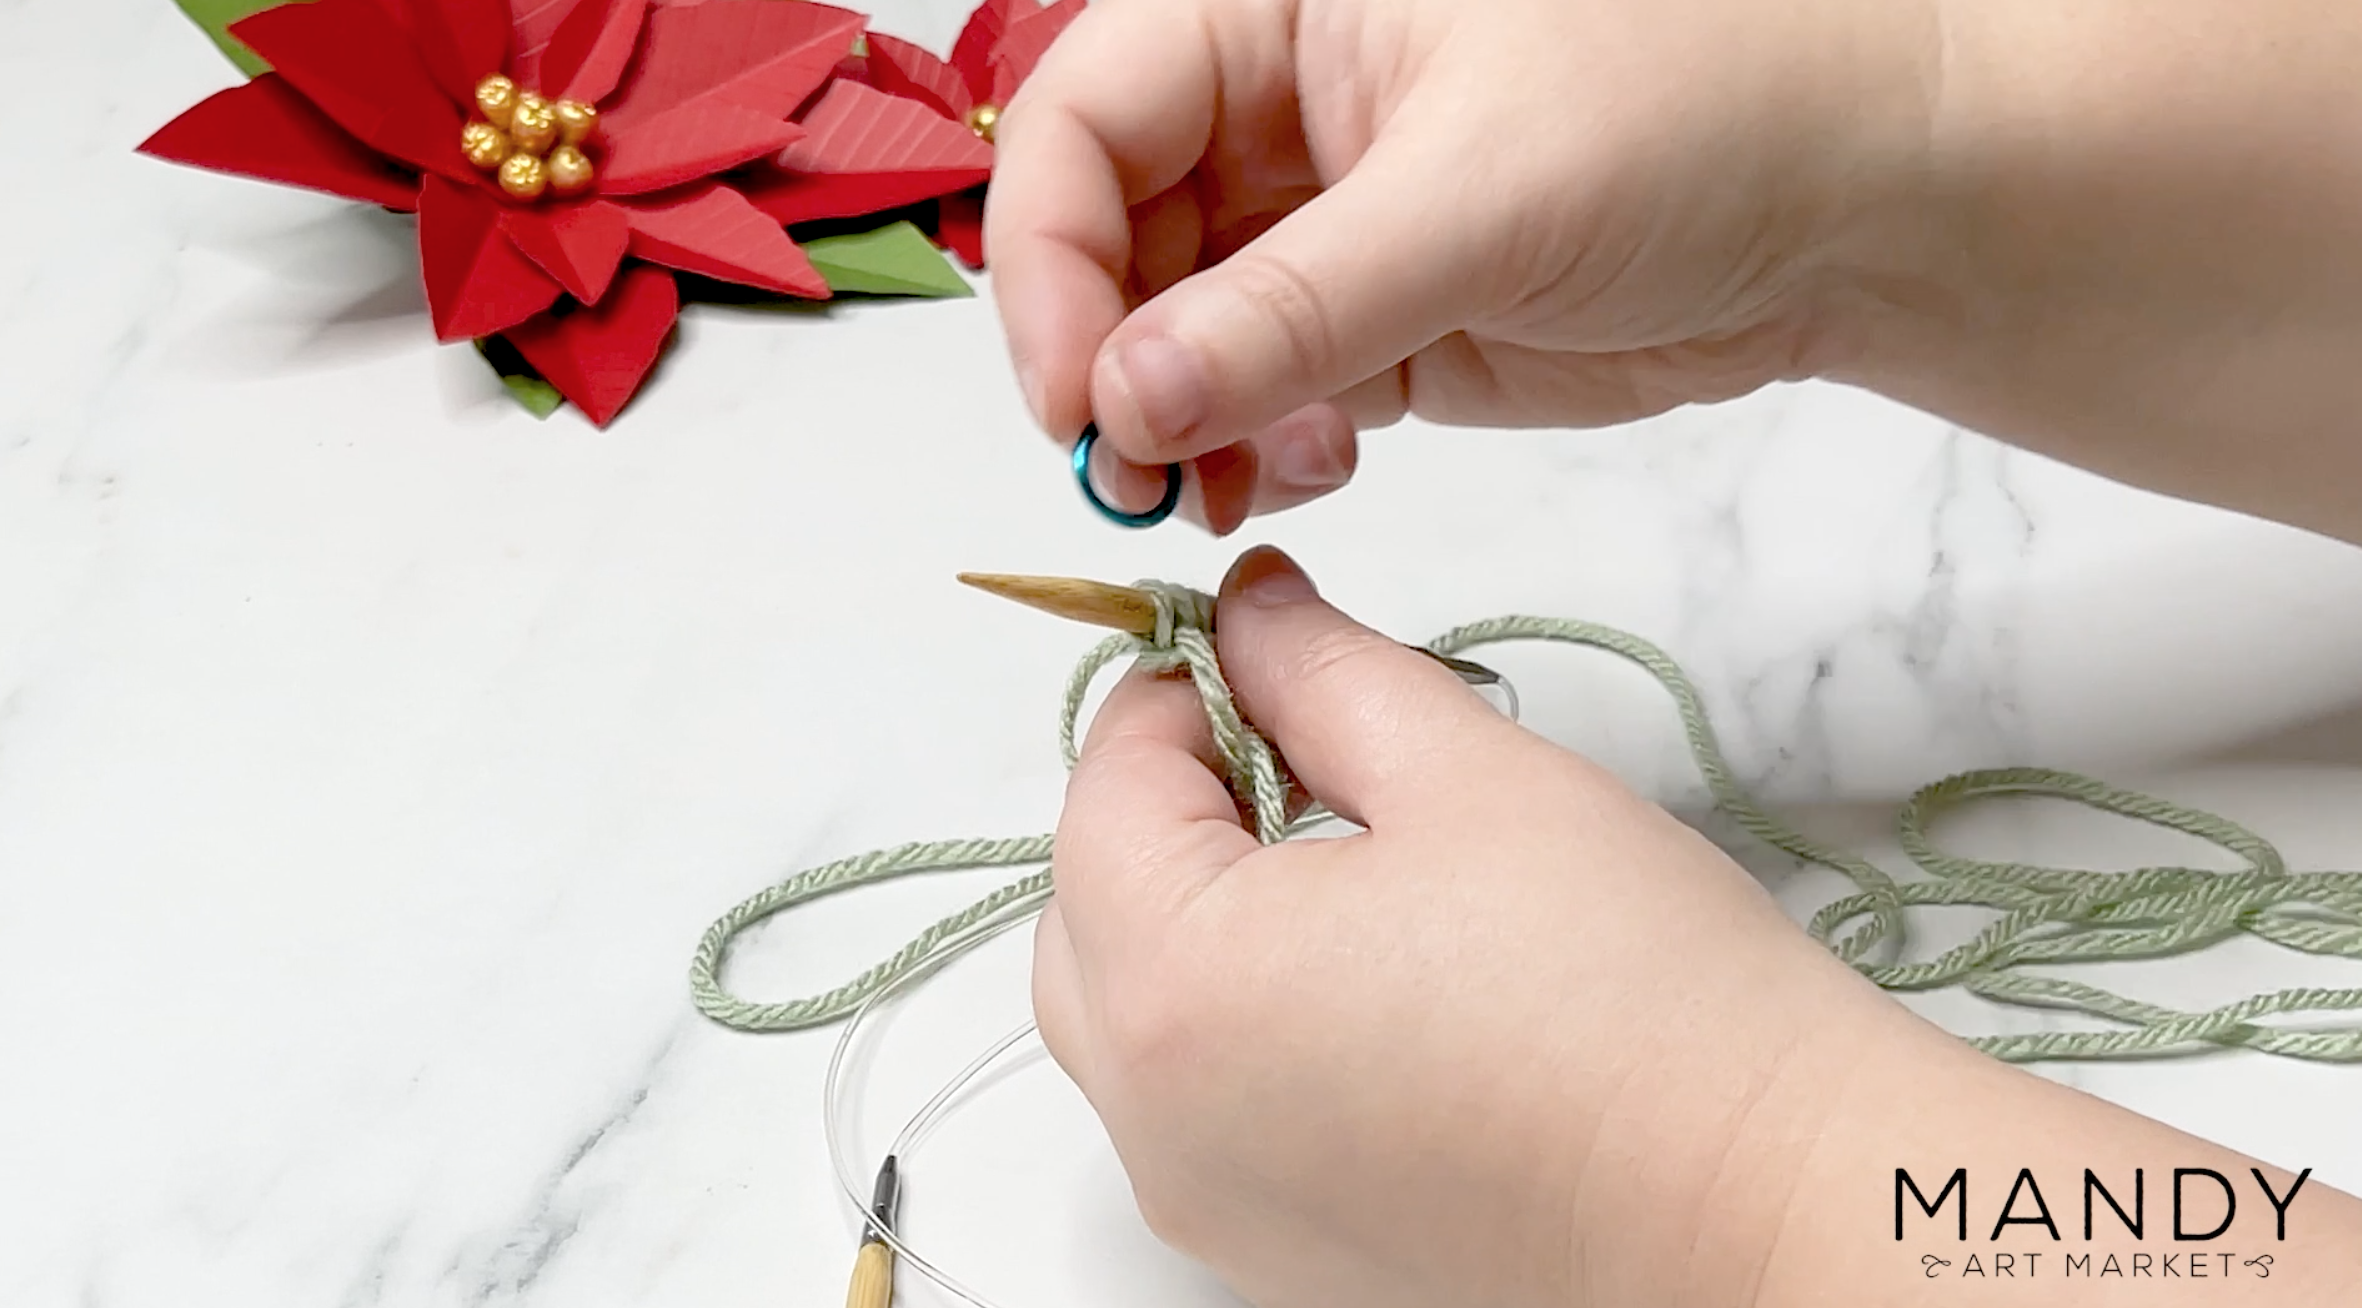
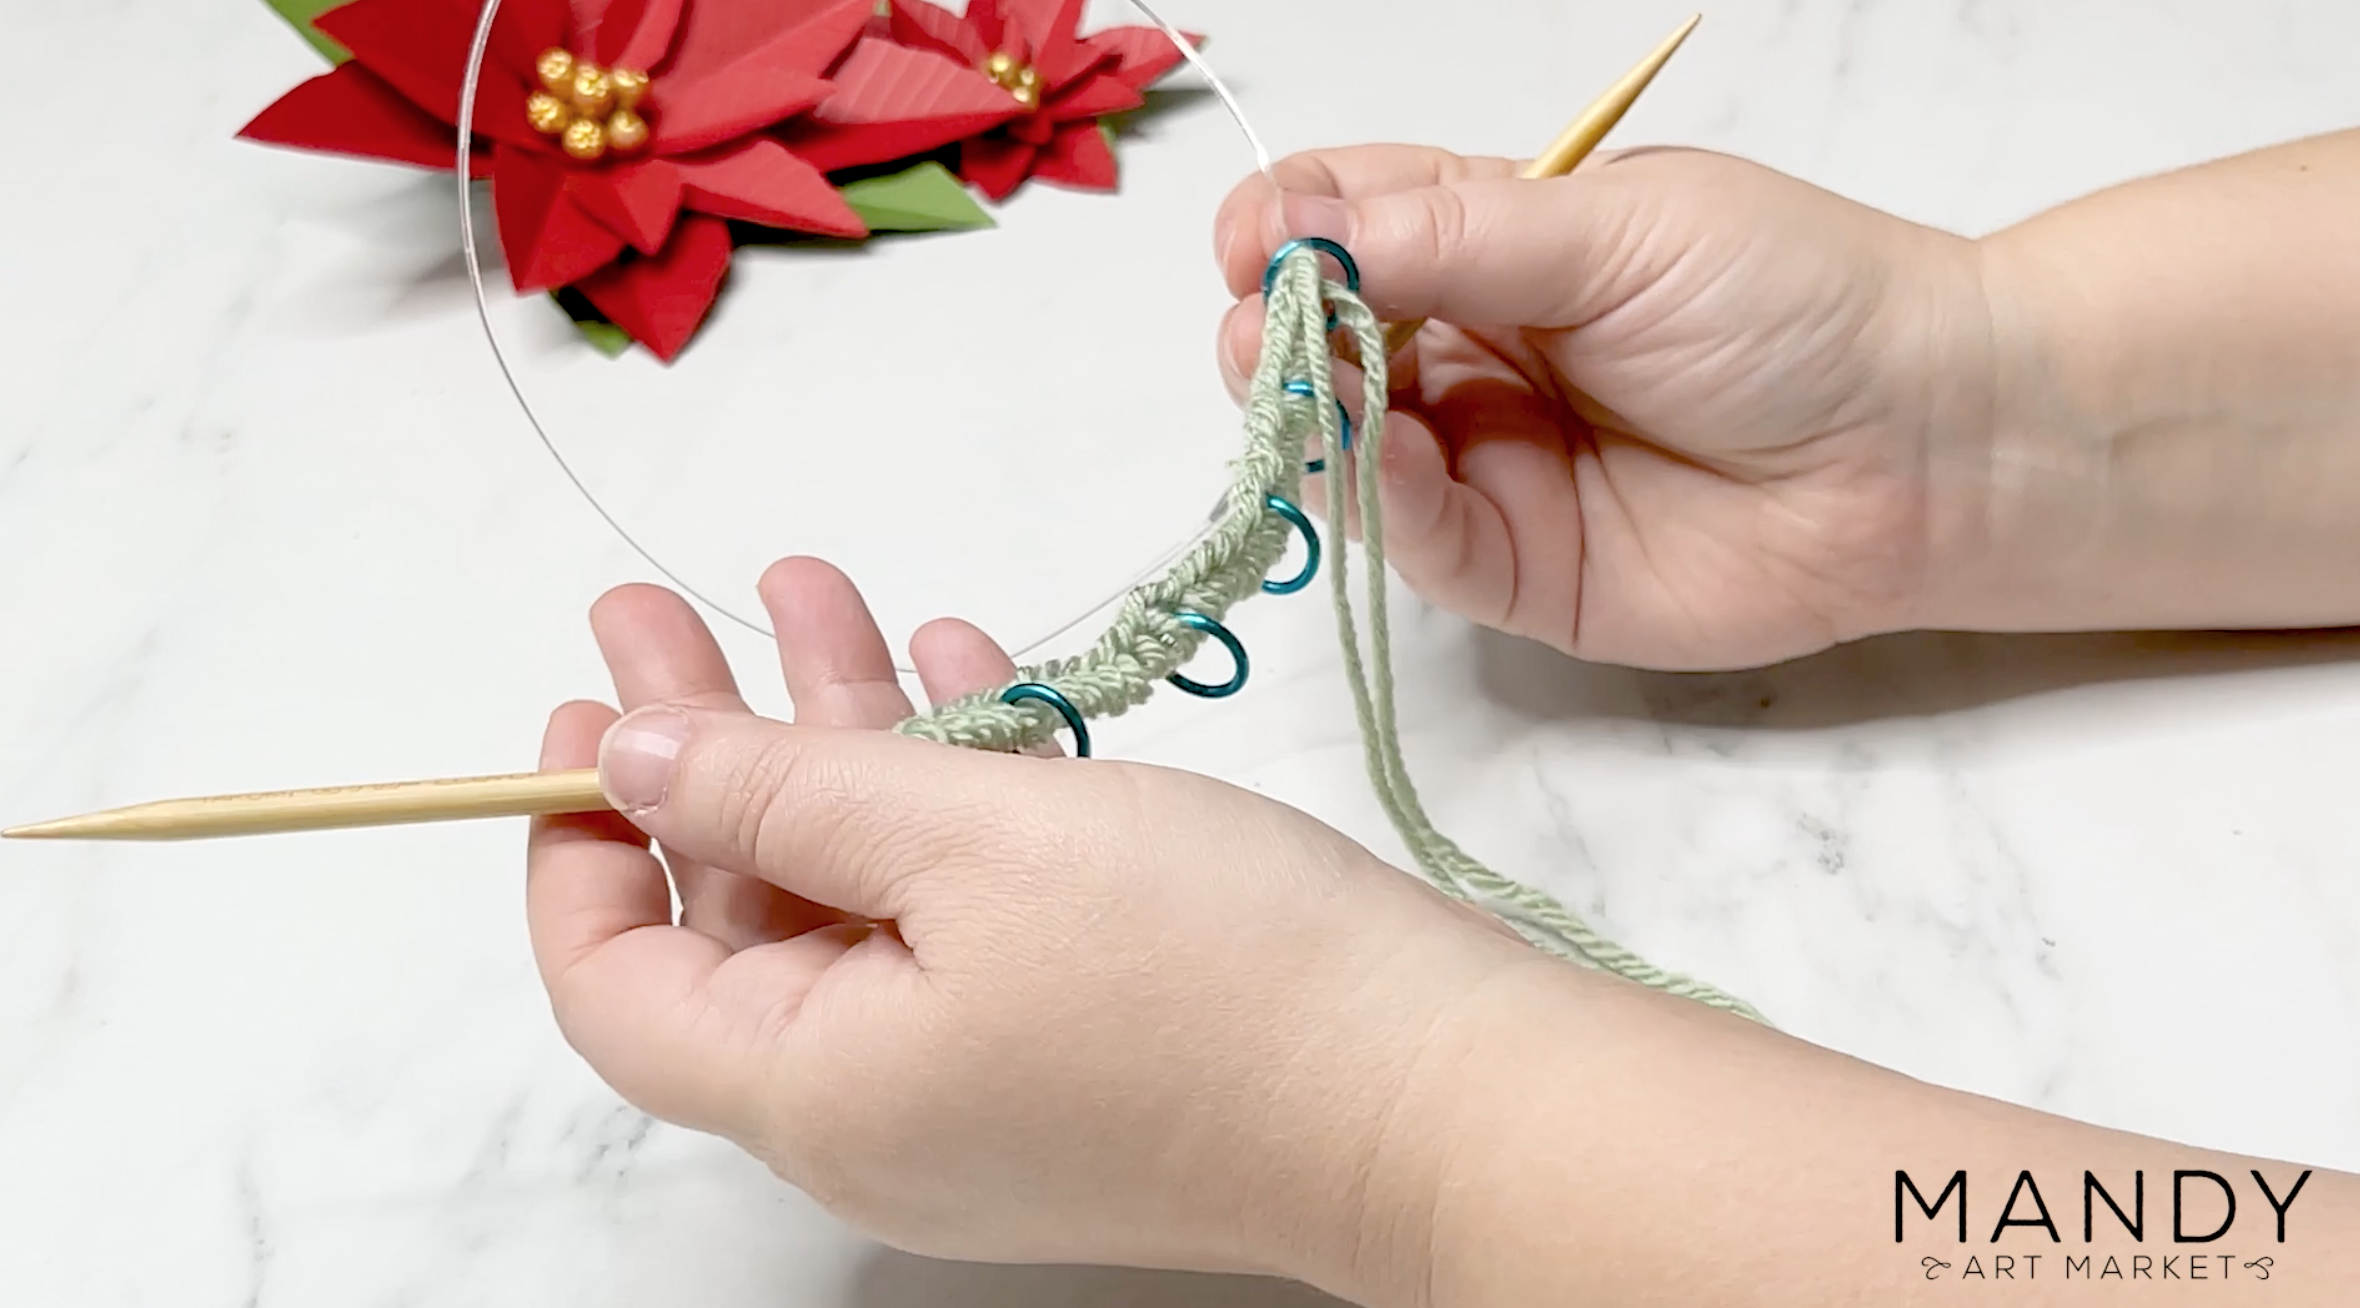
- Use stitch markers
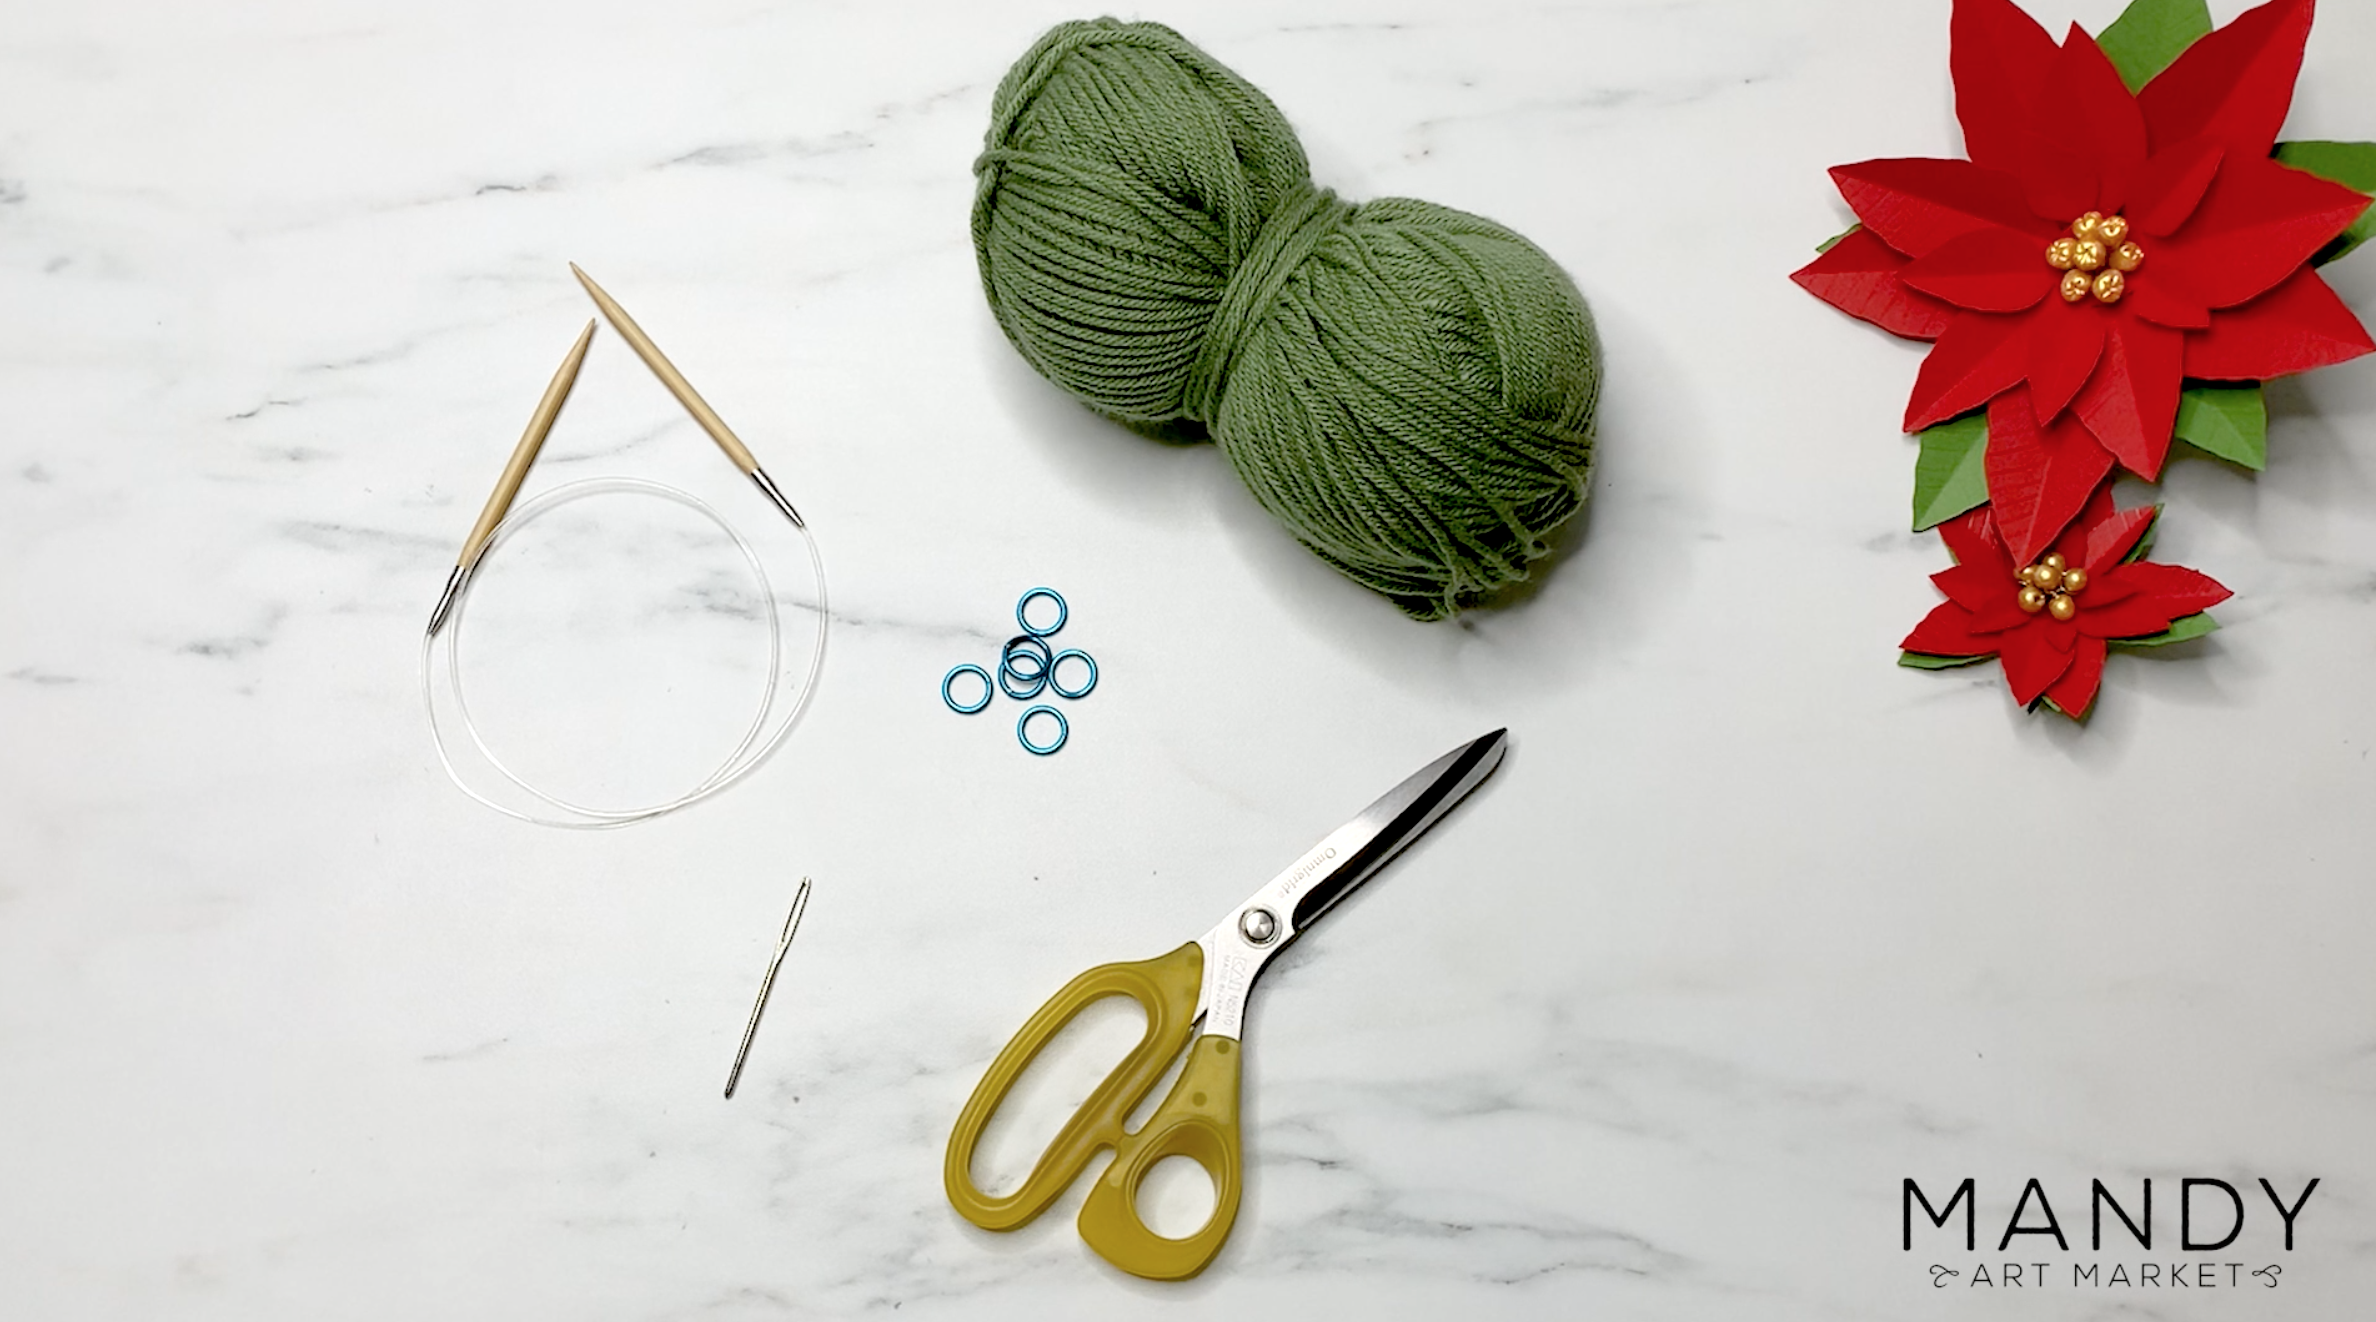
Supplies You’ll Need to Make a Knit Christmas Tree
- Free PDF Pattern for Knit Christmas Trees
- Yarn medium weight #4 (worsted or aran, for example)
- Circular knitting needles or double pointed needles (US Size 9 or 5.5mm)
- Stitch markers
- Snips or scissors
- Darning needle to weave in ends
- Paper cone form or foam cone form for displaying
Knit Christmas Tree Video Tutorial
This video tutorial will walk you through how to make your knit Christmas trees.
The video assumes you already know how to do a long-tail cast on, and to knit and purl. It teaches you how to do a decrease called a ‘central decrease’, which is used to create the cone shape in this pattern.
How to Make Knit Christmas Trees Step-by-Step Instructions
Step 1: Gather Supplies
Step 1: Gather Supplies
Start by gathering your supplies. The full list is provided above, but you’ll need medium-weight yarn and size 9 circular knitting needs. You’ll also need stitch markers, a darning needle, and a pair of scissors or snips.
Don’t forget to print the free pattern, or download it to your device if you like to use patterns digitally!
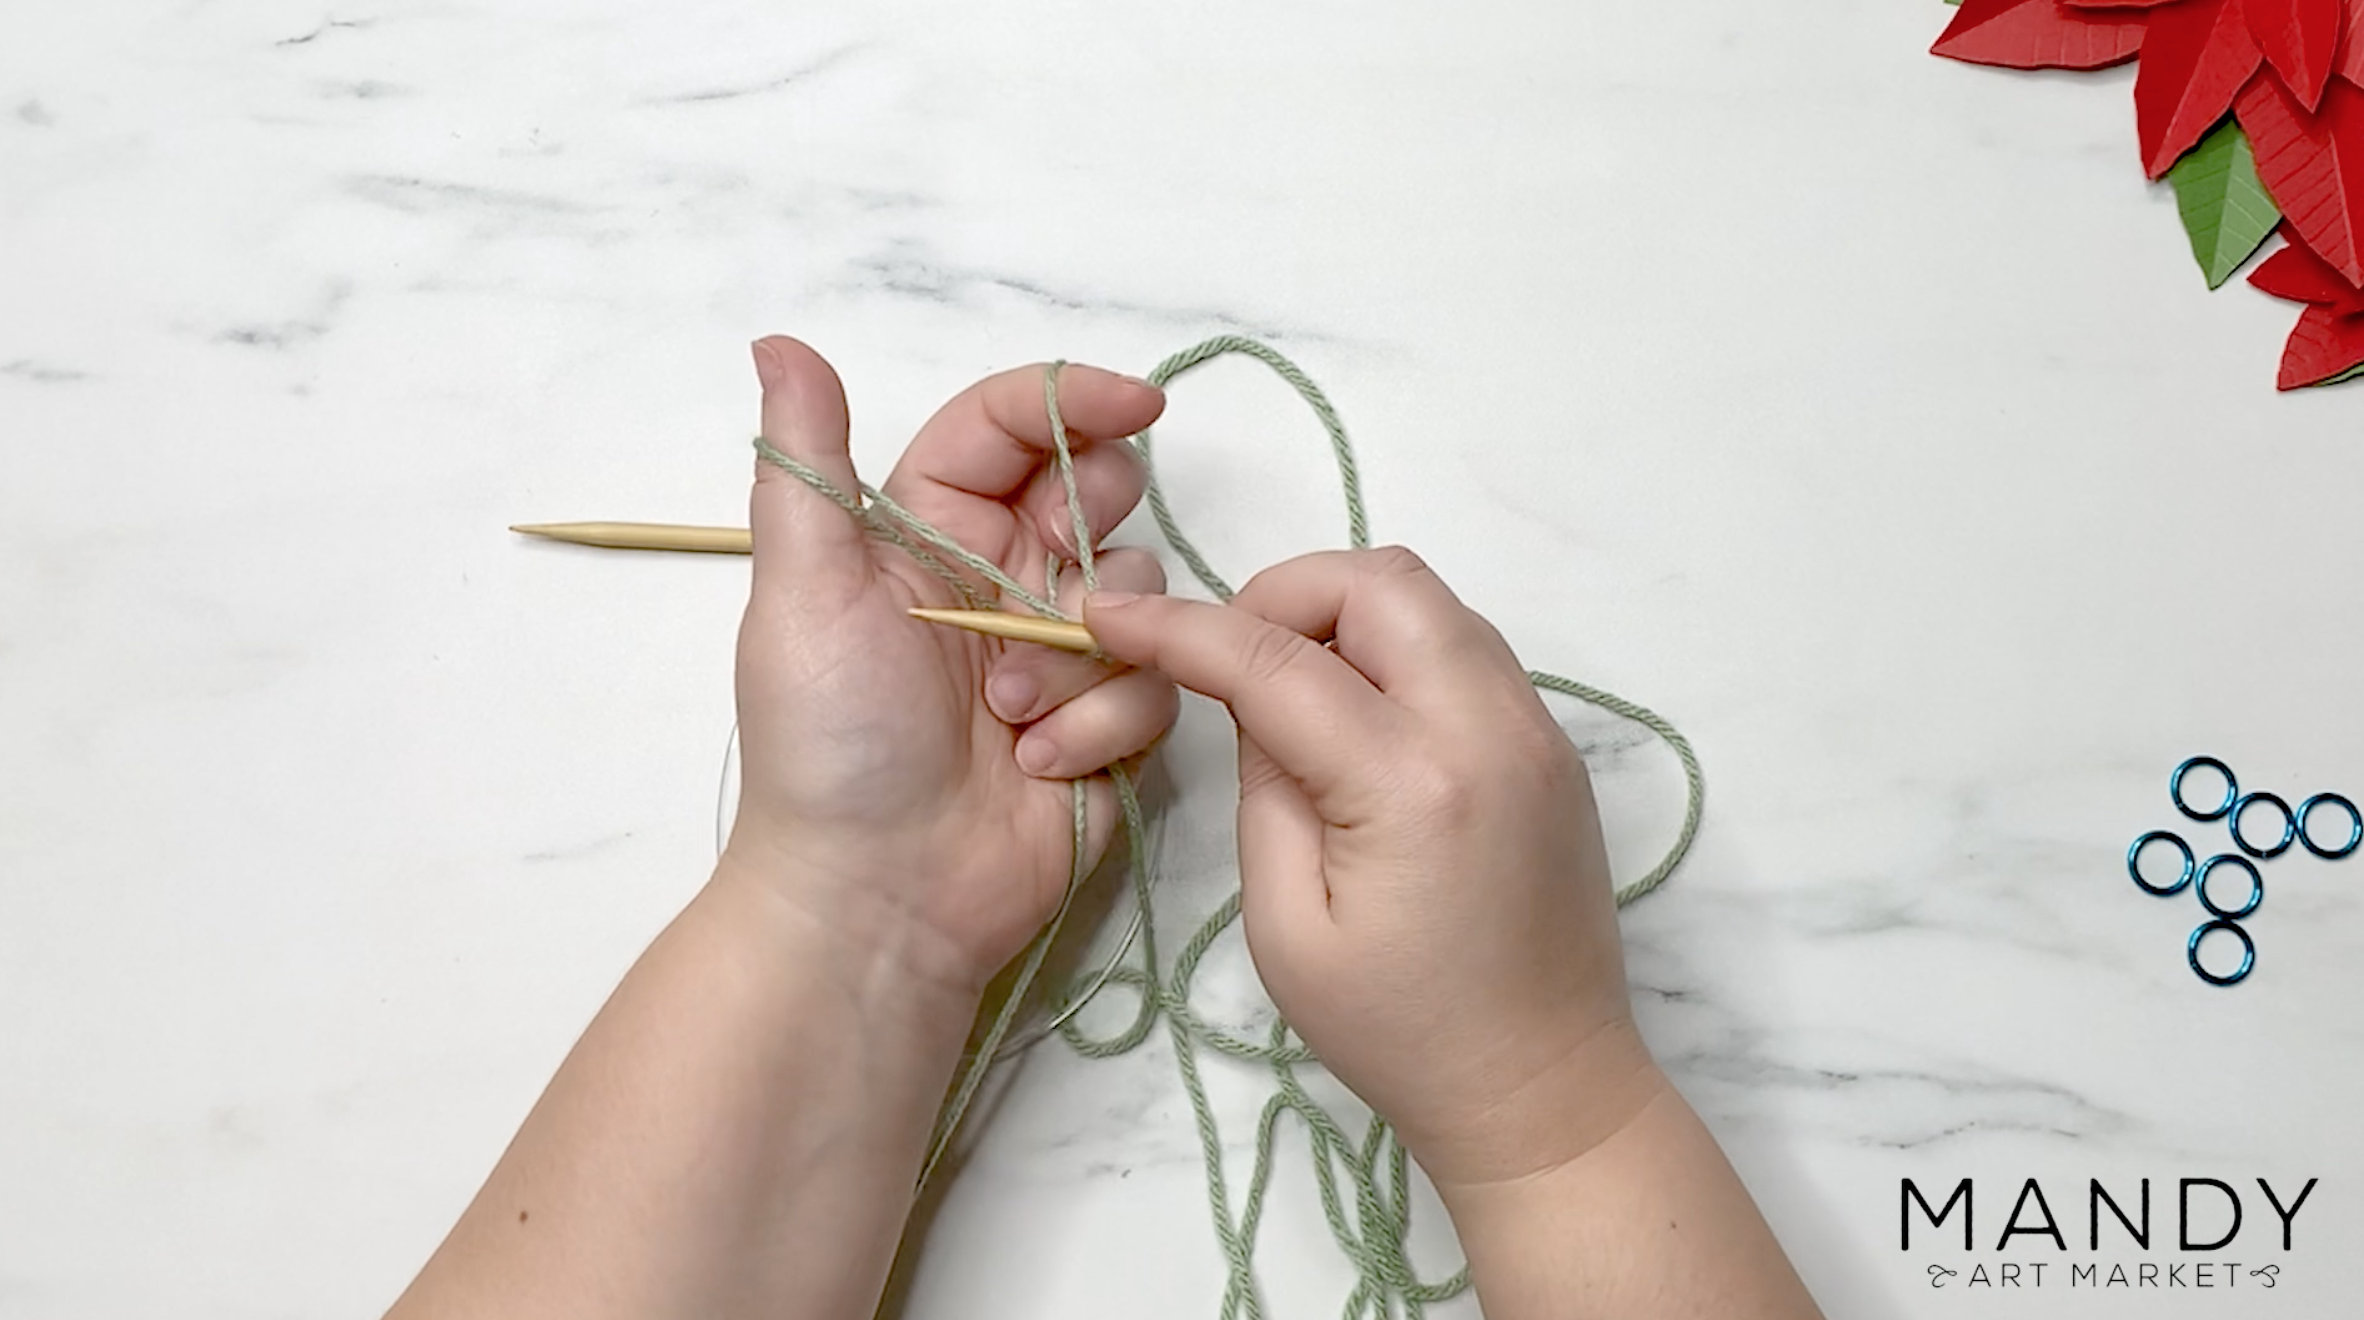
Step 2: Cast On
Cast on the number of stitches specified in the pattern.
Place 5 markers, evenly spaced on the needles. The number of stitches between each marker is specified in the pattern.
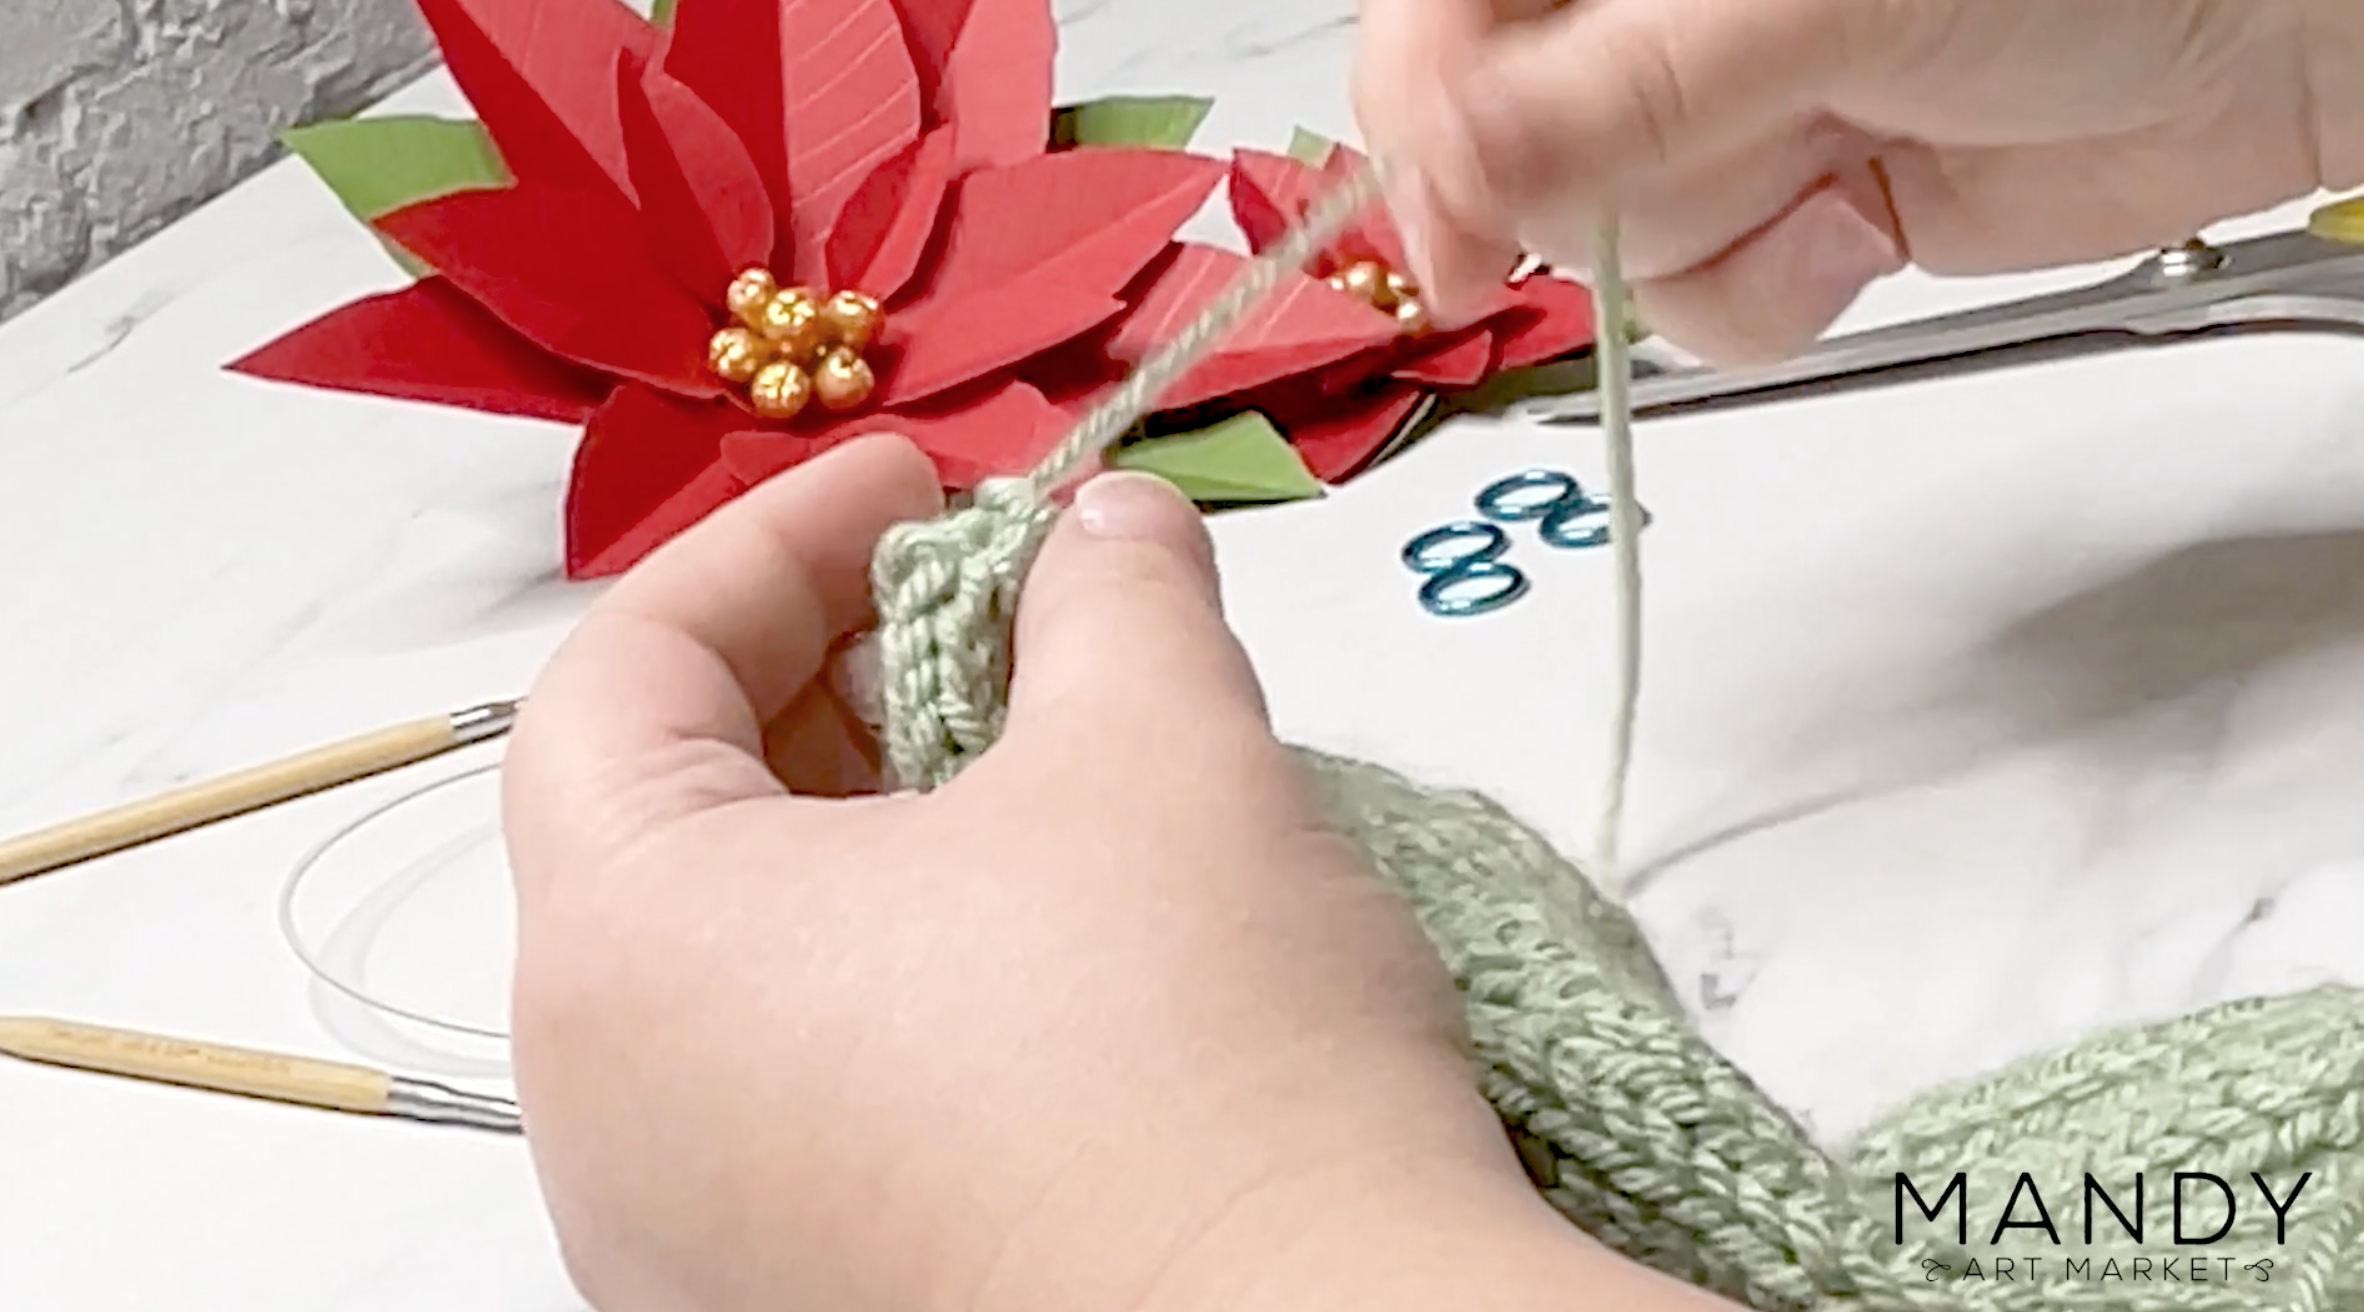
Step 3: Knit Ribbing
Knit 9 rows of ribbing as specified in the pattern. For the mini-sized tree, you’ll *knit 2, purl 1*, and repeat for all 9 rows. For all other tree sizes, you’ll *knit 3 purl 1*, and repeat for all nine rows.
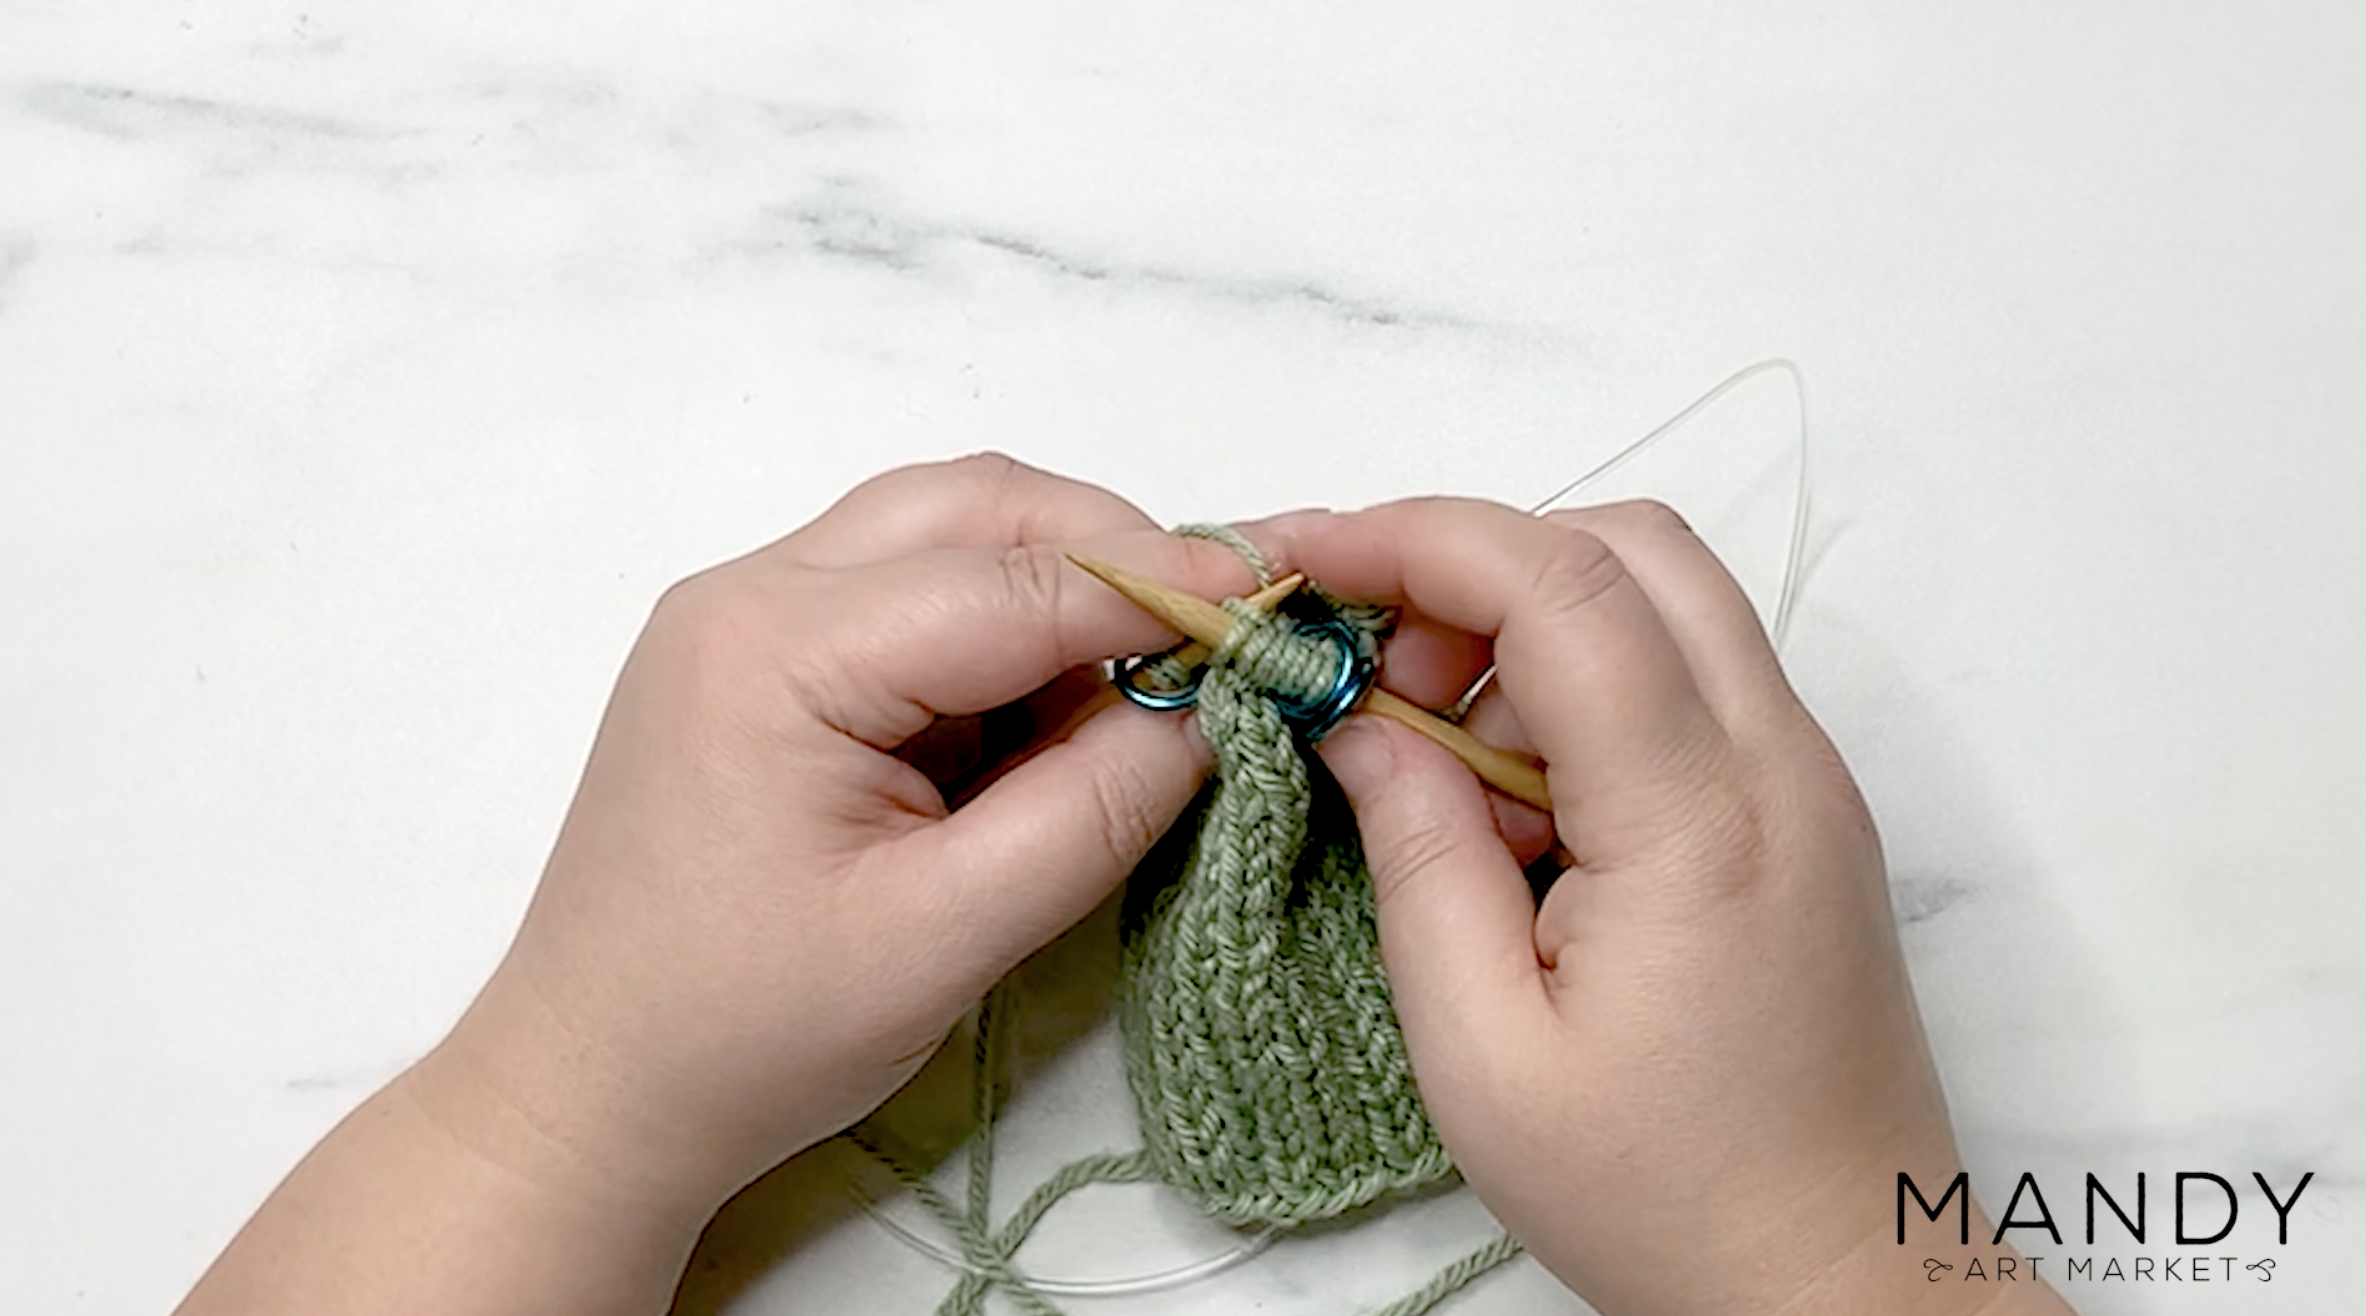
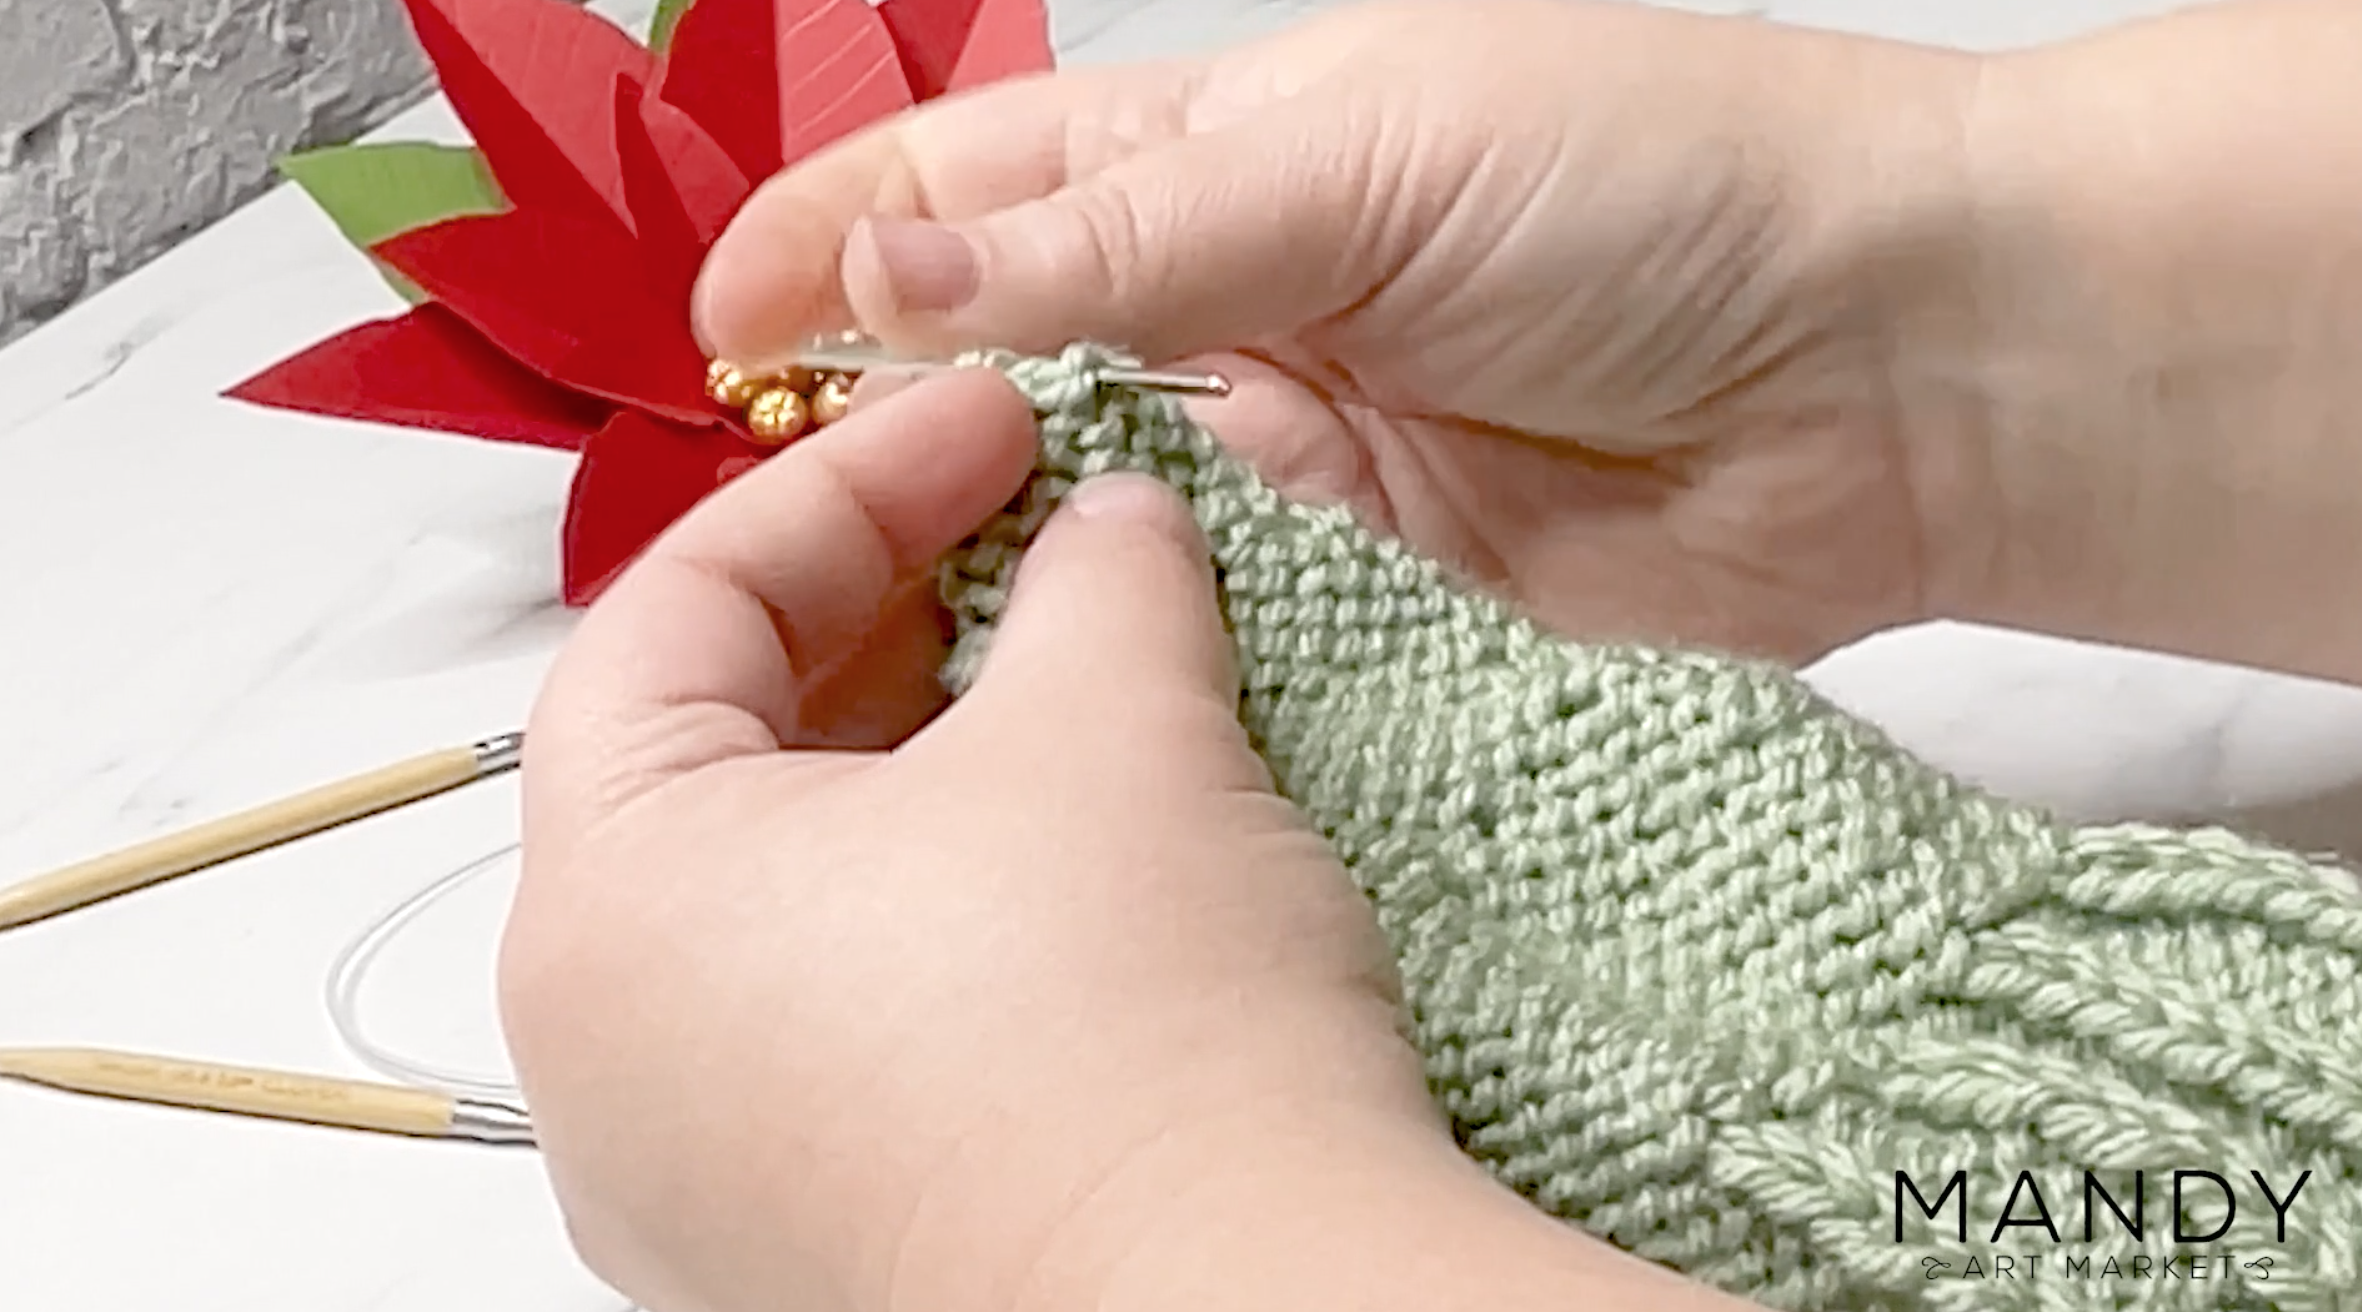
Step 4: First Decrease Row
Knit until there are 3 stitches left before the first marker. Then do a central decrease. Remove the marker, knit 1 stitch, then replace the marker. Continue this all the way around the row.

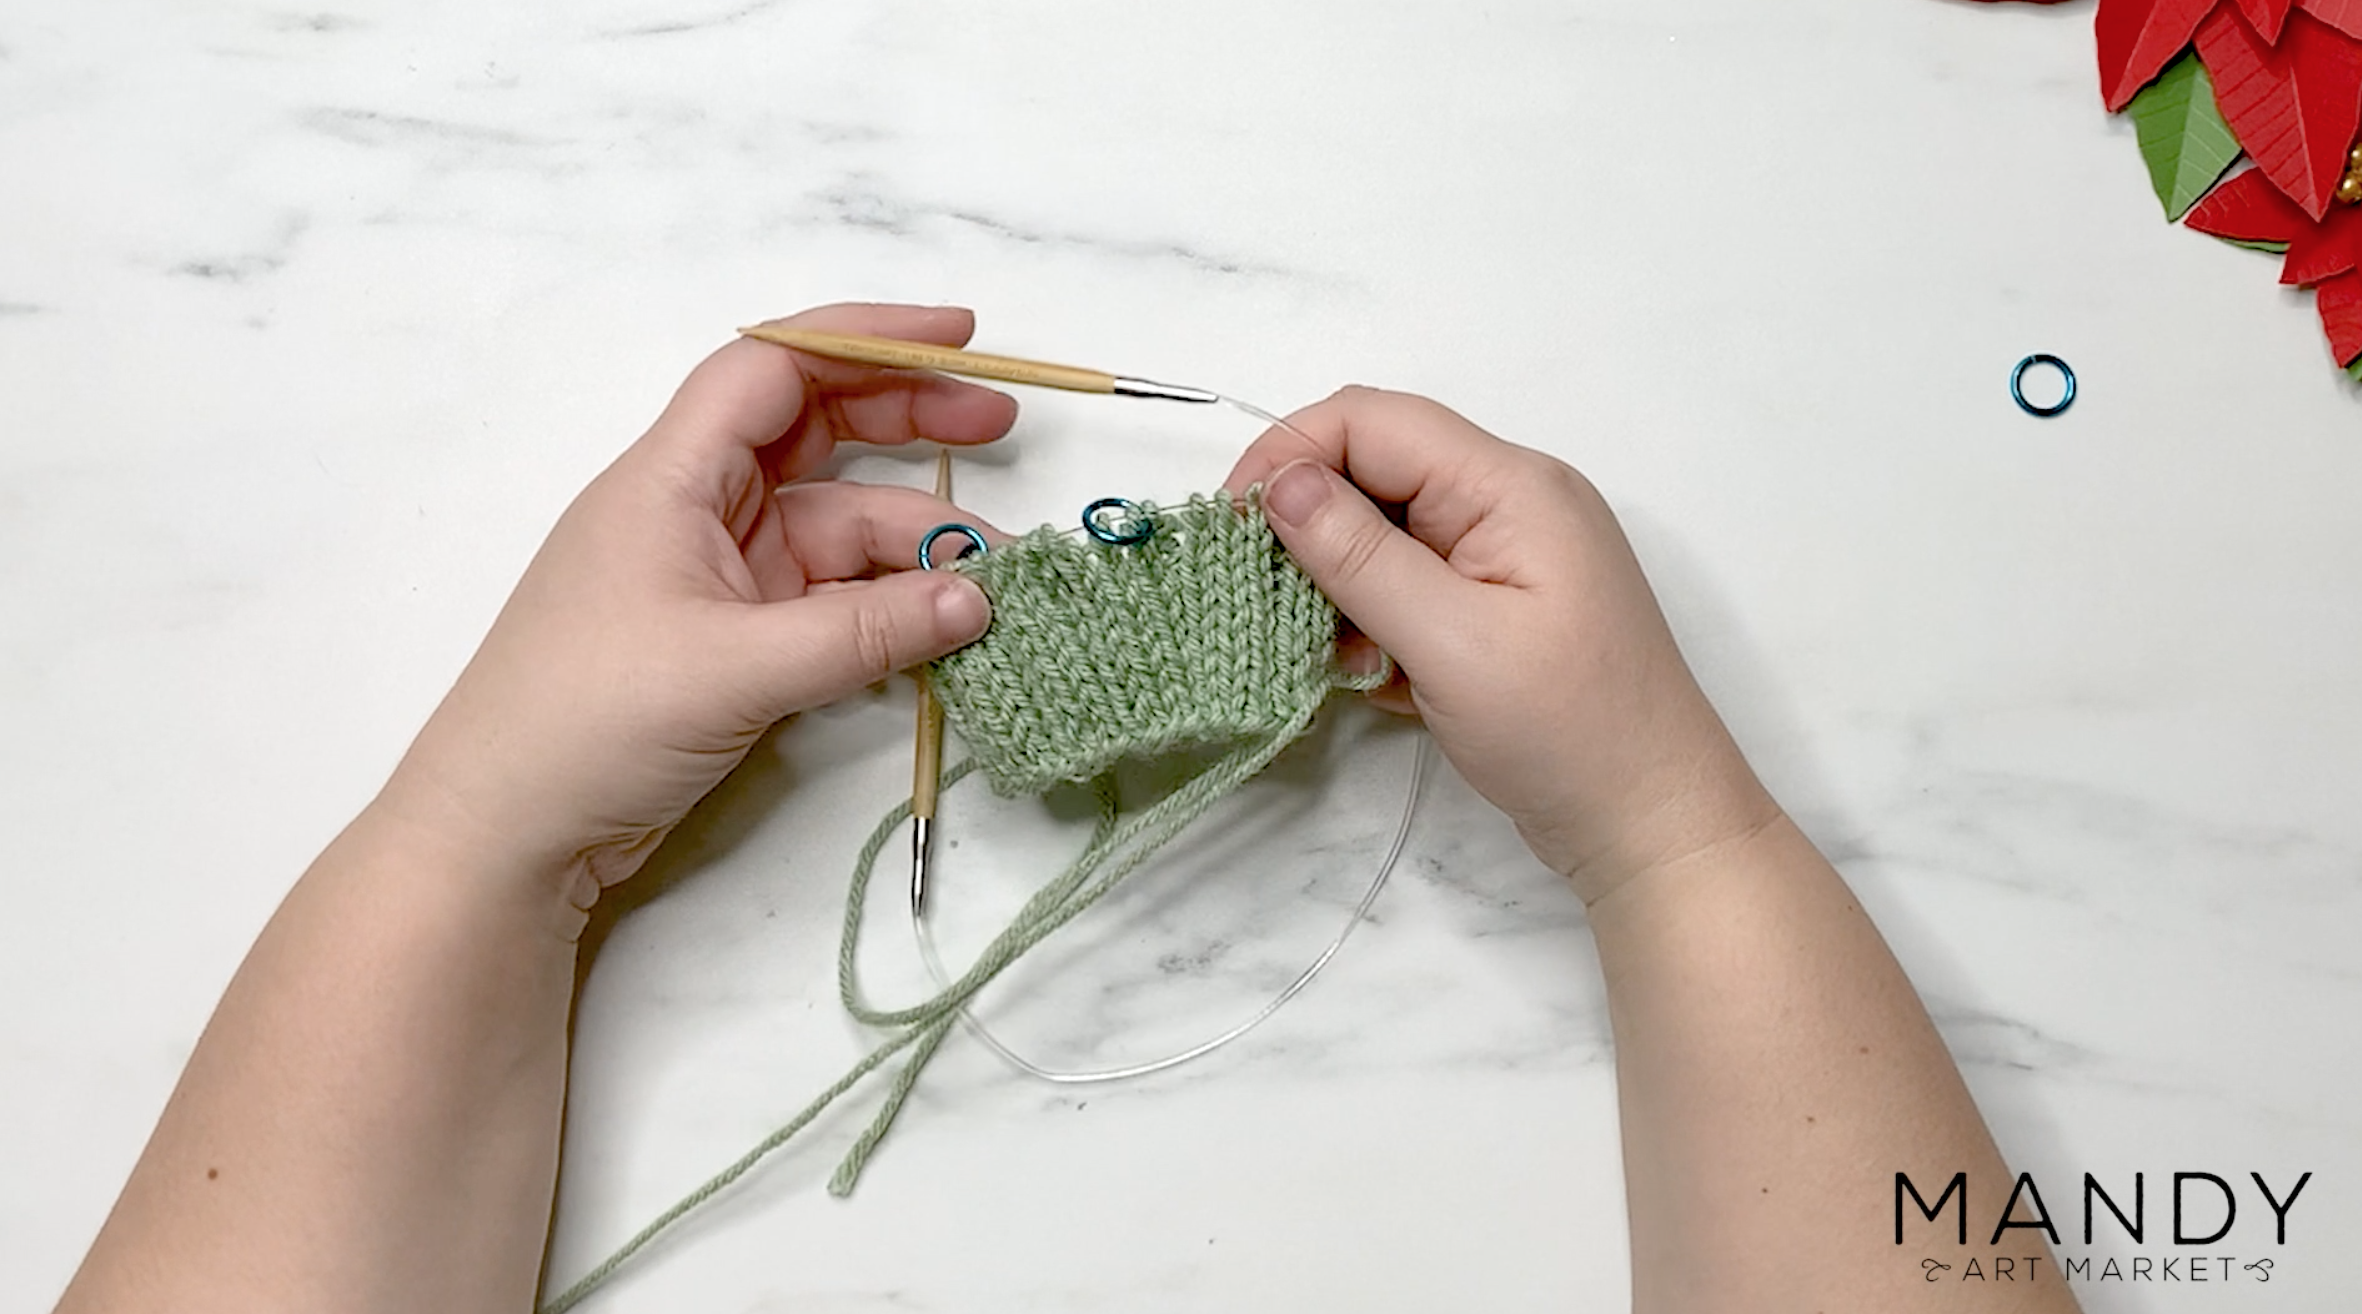
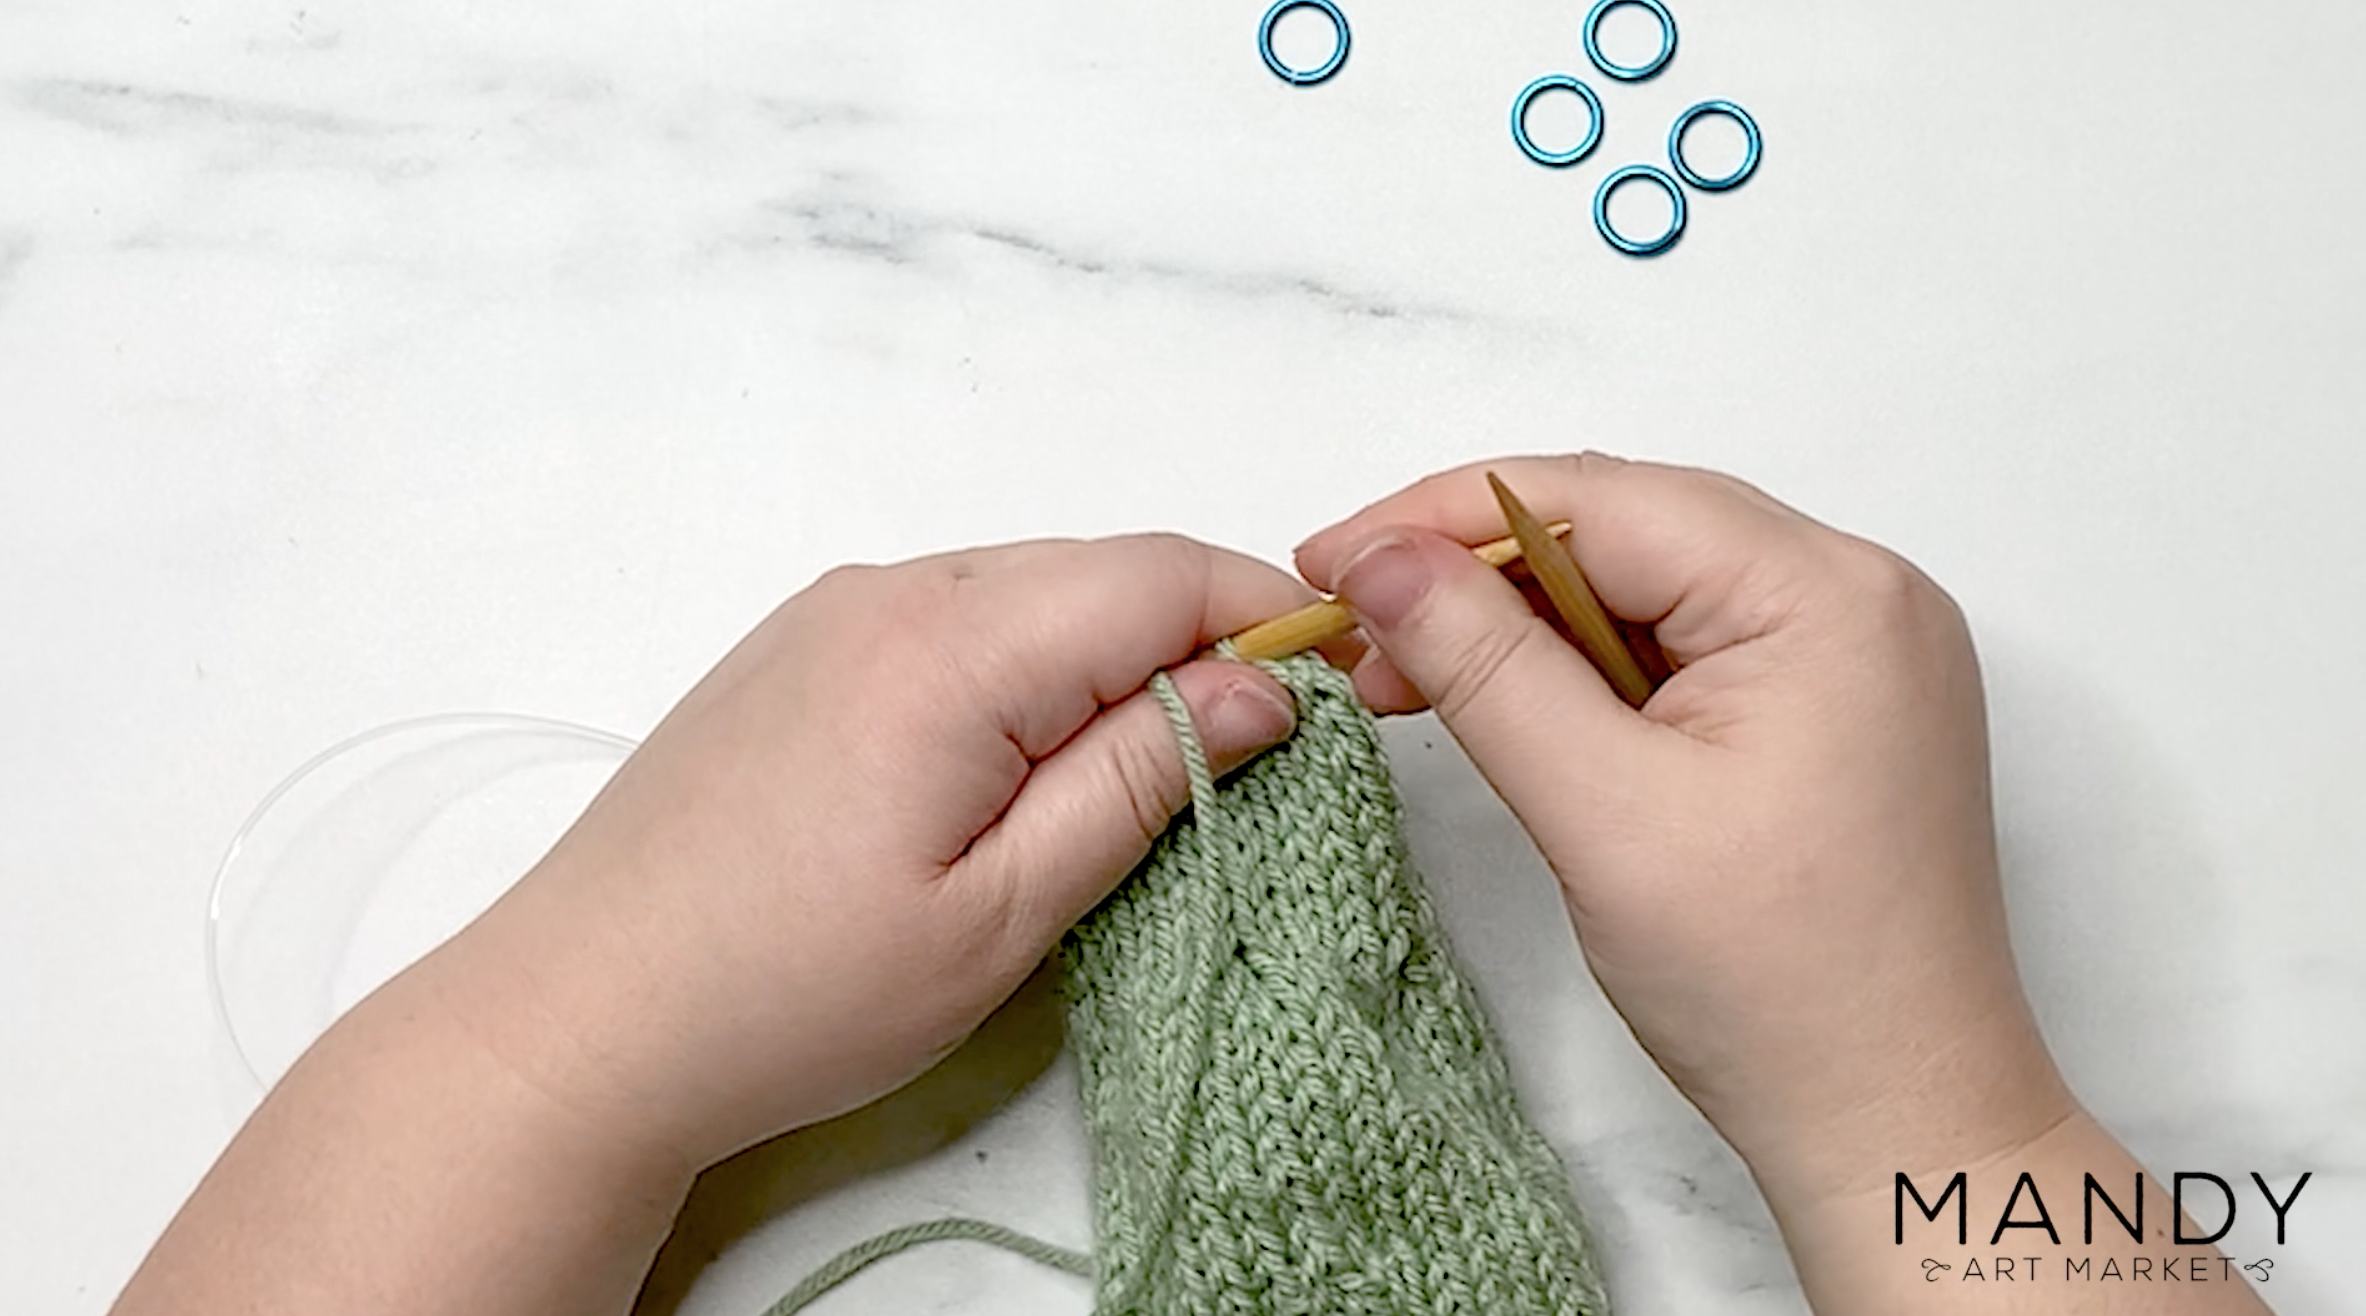
Step 5: Knit 9 Rows
Knit 9 rows. Slip the markers from the left needle to the right needle as you go.
We’re only using the markers for the decrease rows.
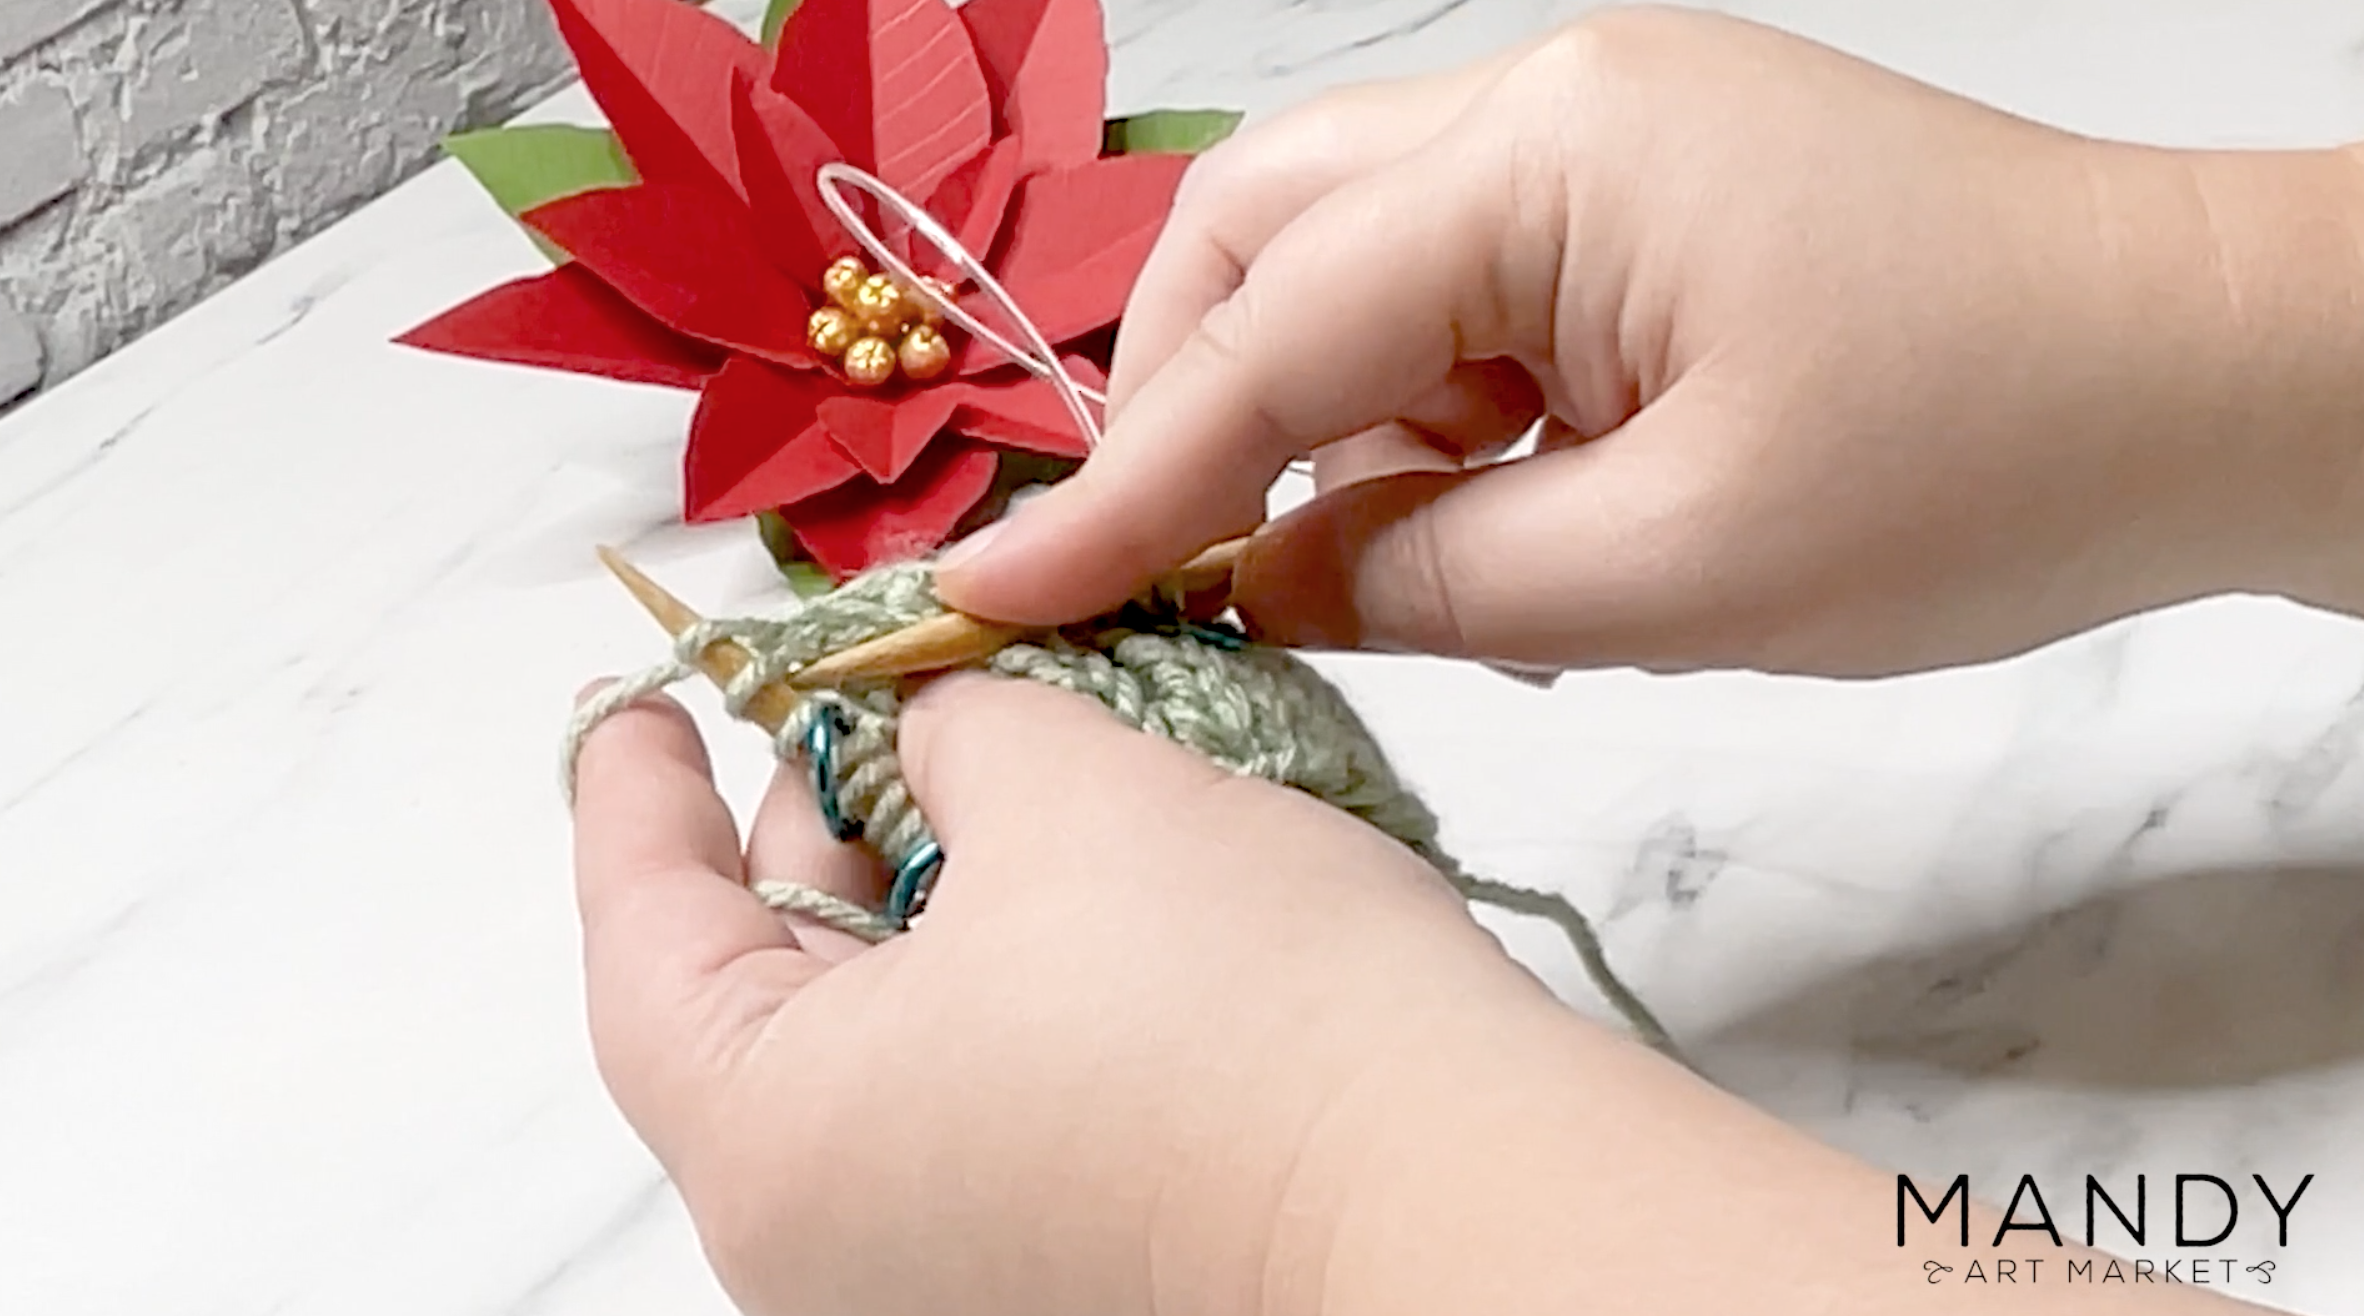
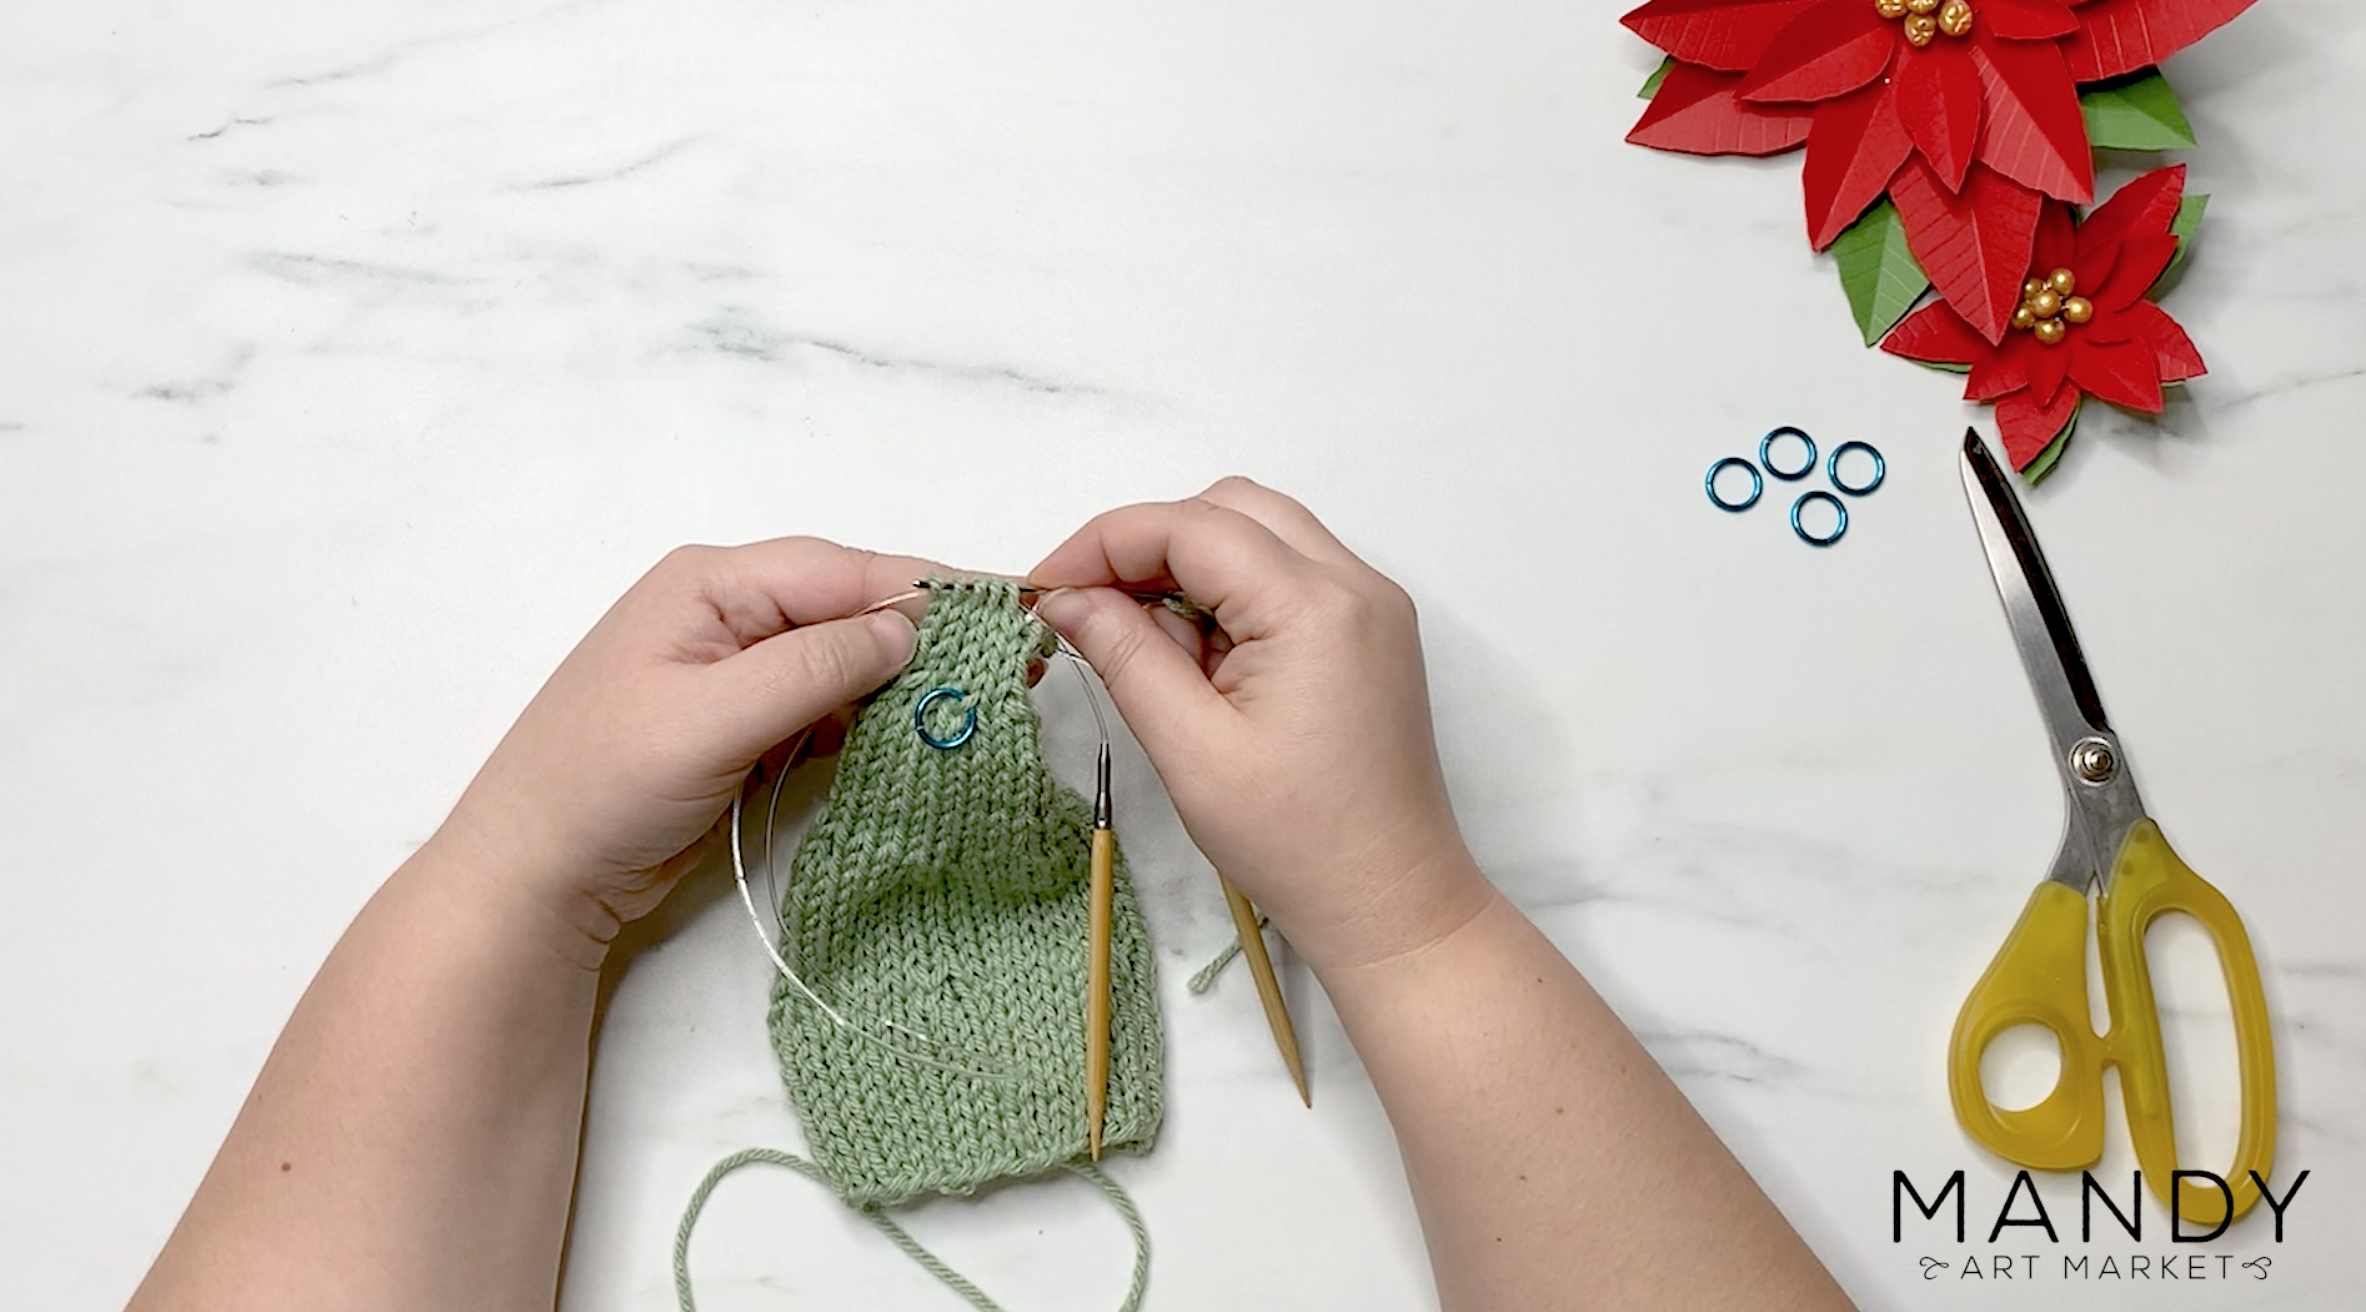
Step 6: Repeat Decrease Row & 9 Knit Rows
Until there are 10 stitches left on the needles.
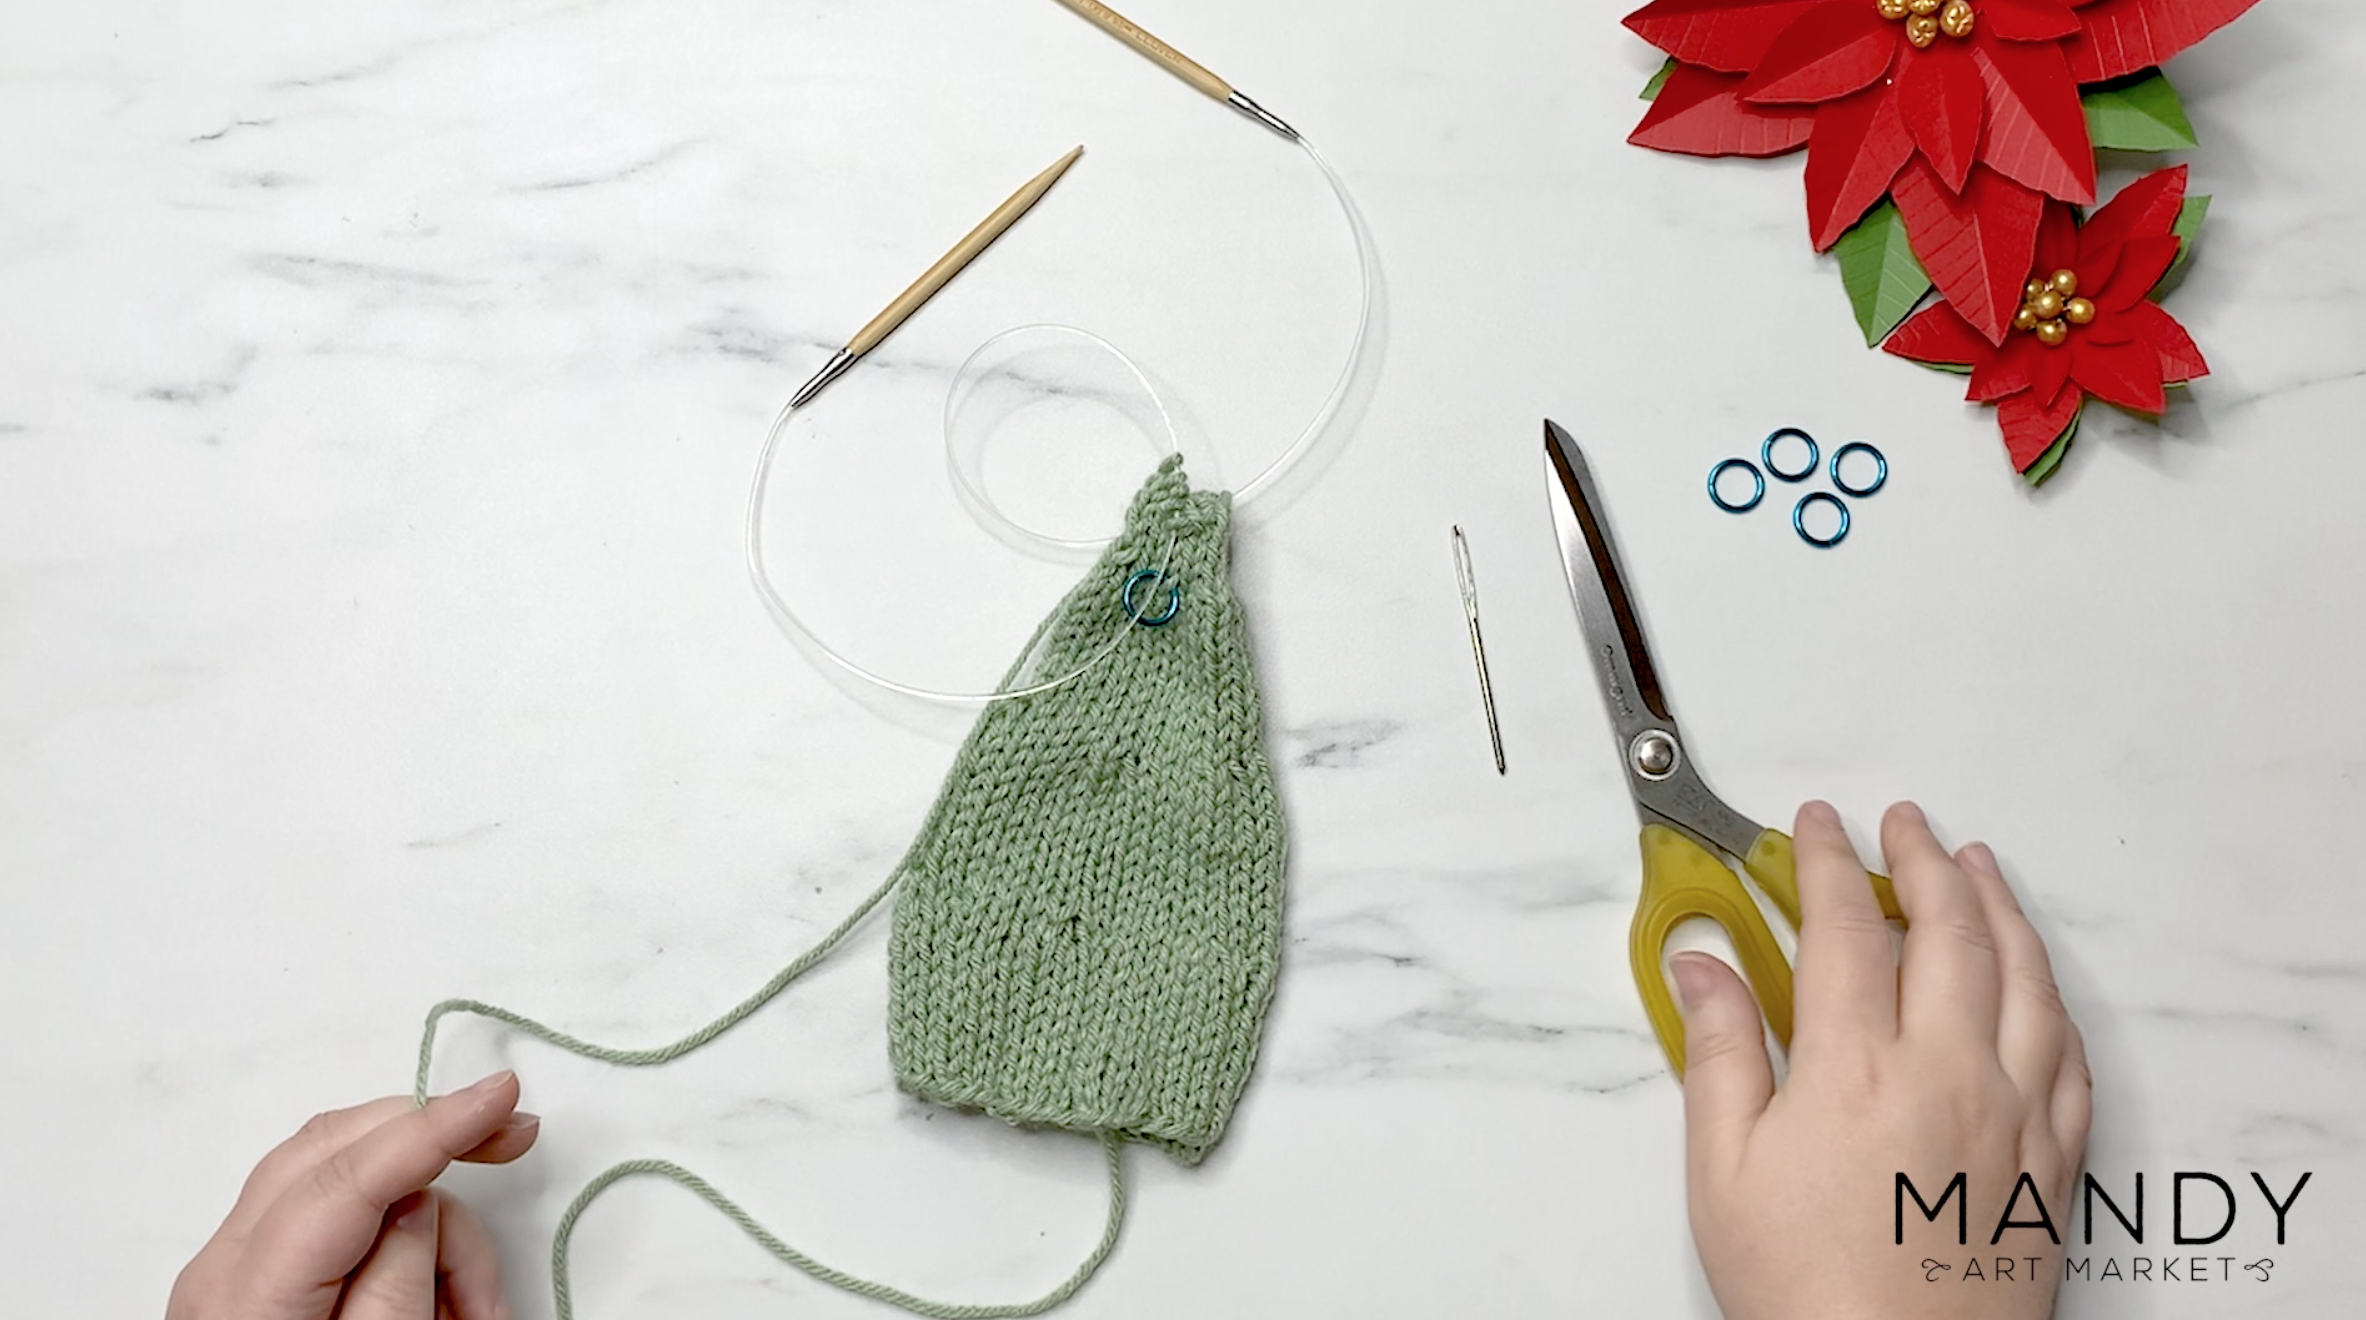
Step 7: Knit Last 5 Rows
Knit the last 5 rows. You can remove the stitch markers now if you haven’t already.
Step 8: Close Top with Darning Needle
Thread the remaining yarn onto the darning needle and push it through the last 10 stitches. Pull the yarn snuggly to close the hole at the top of the tree.
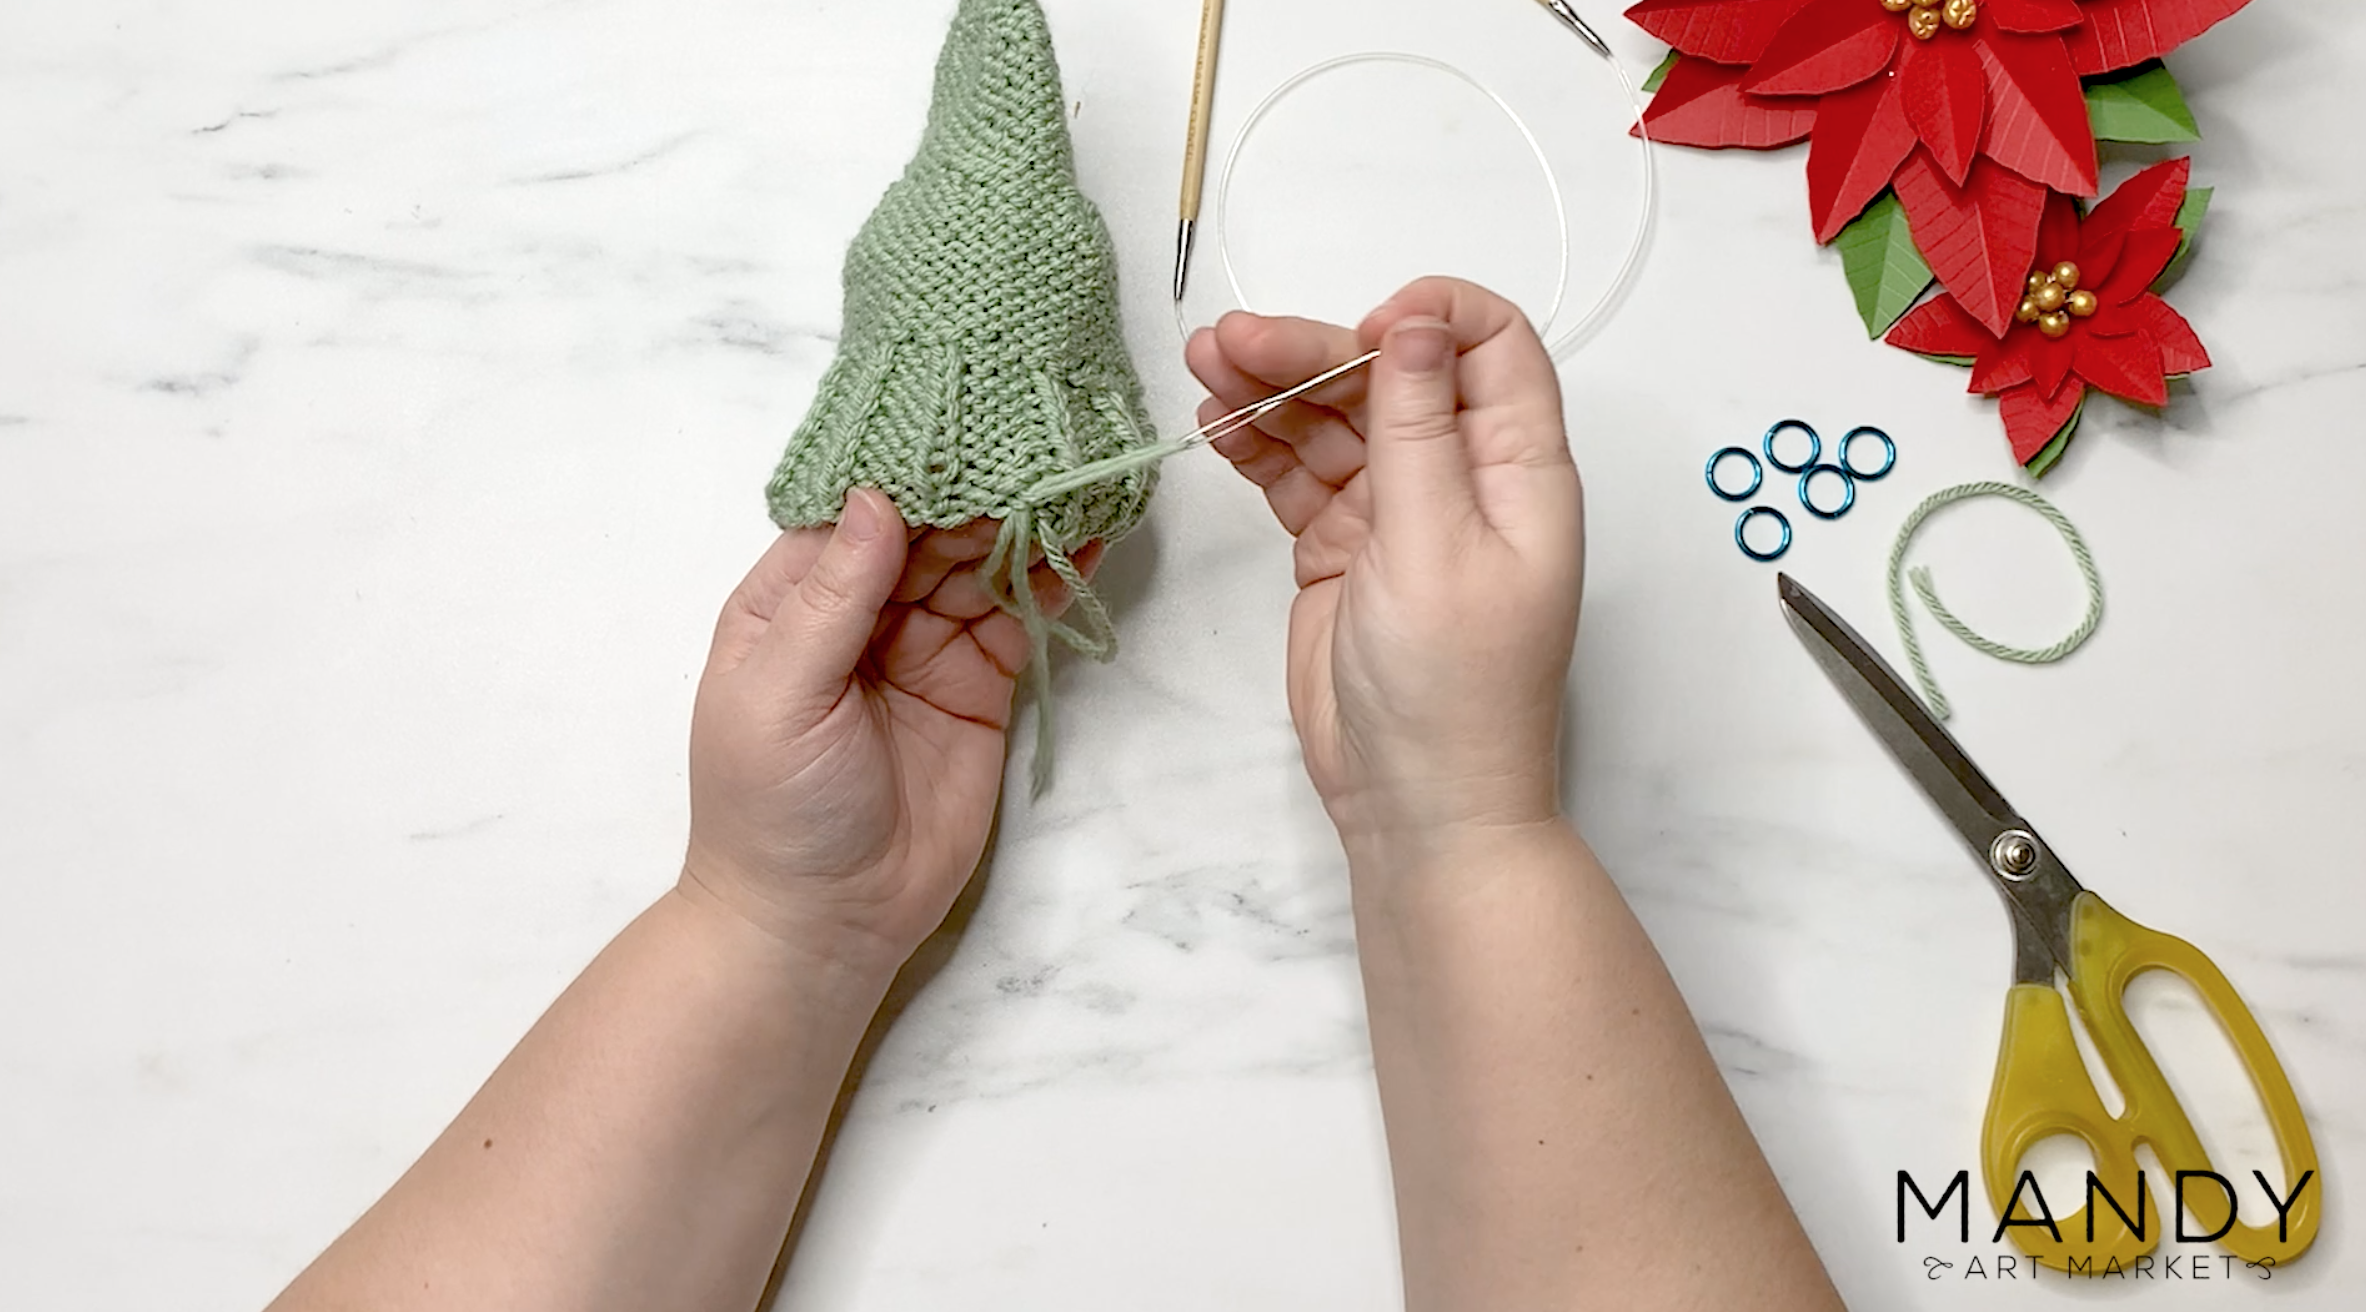
Step 9: Weave in Yarn Ends
Turn the tree inside out. Weave in the yarn ends at the top and bottom of the tree, following the path of the existing stitches. Turn the tree right side out again.

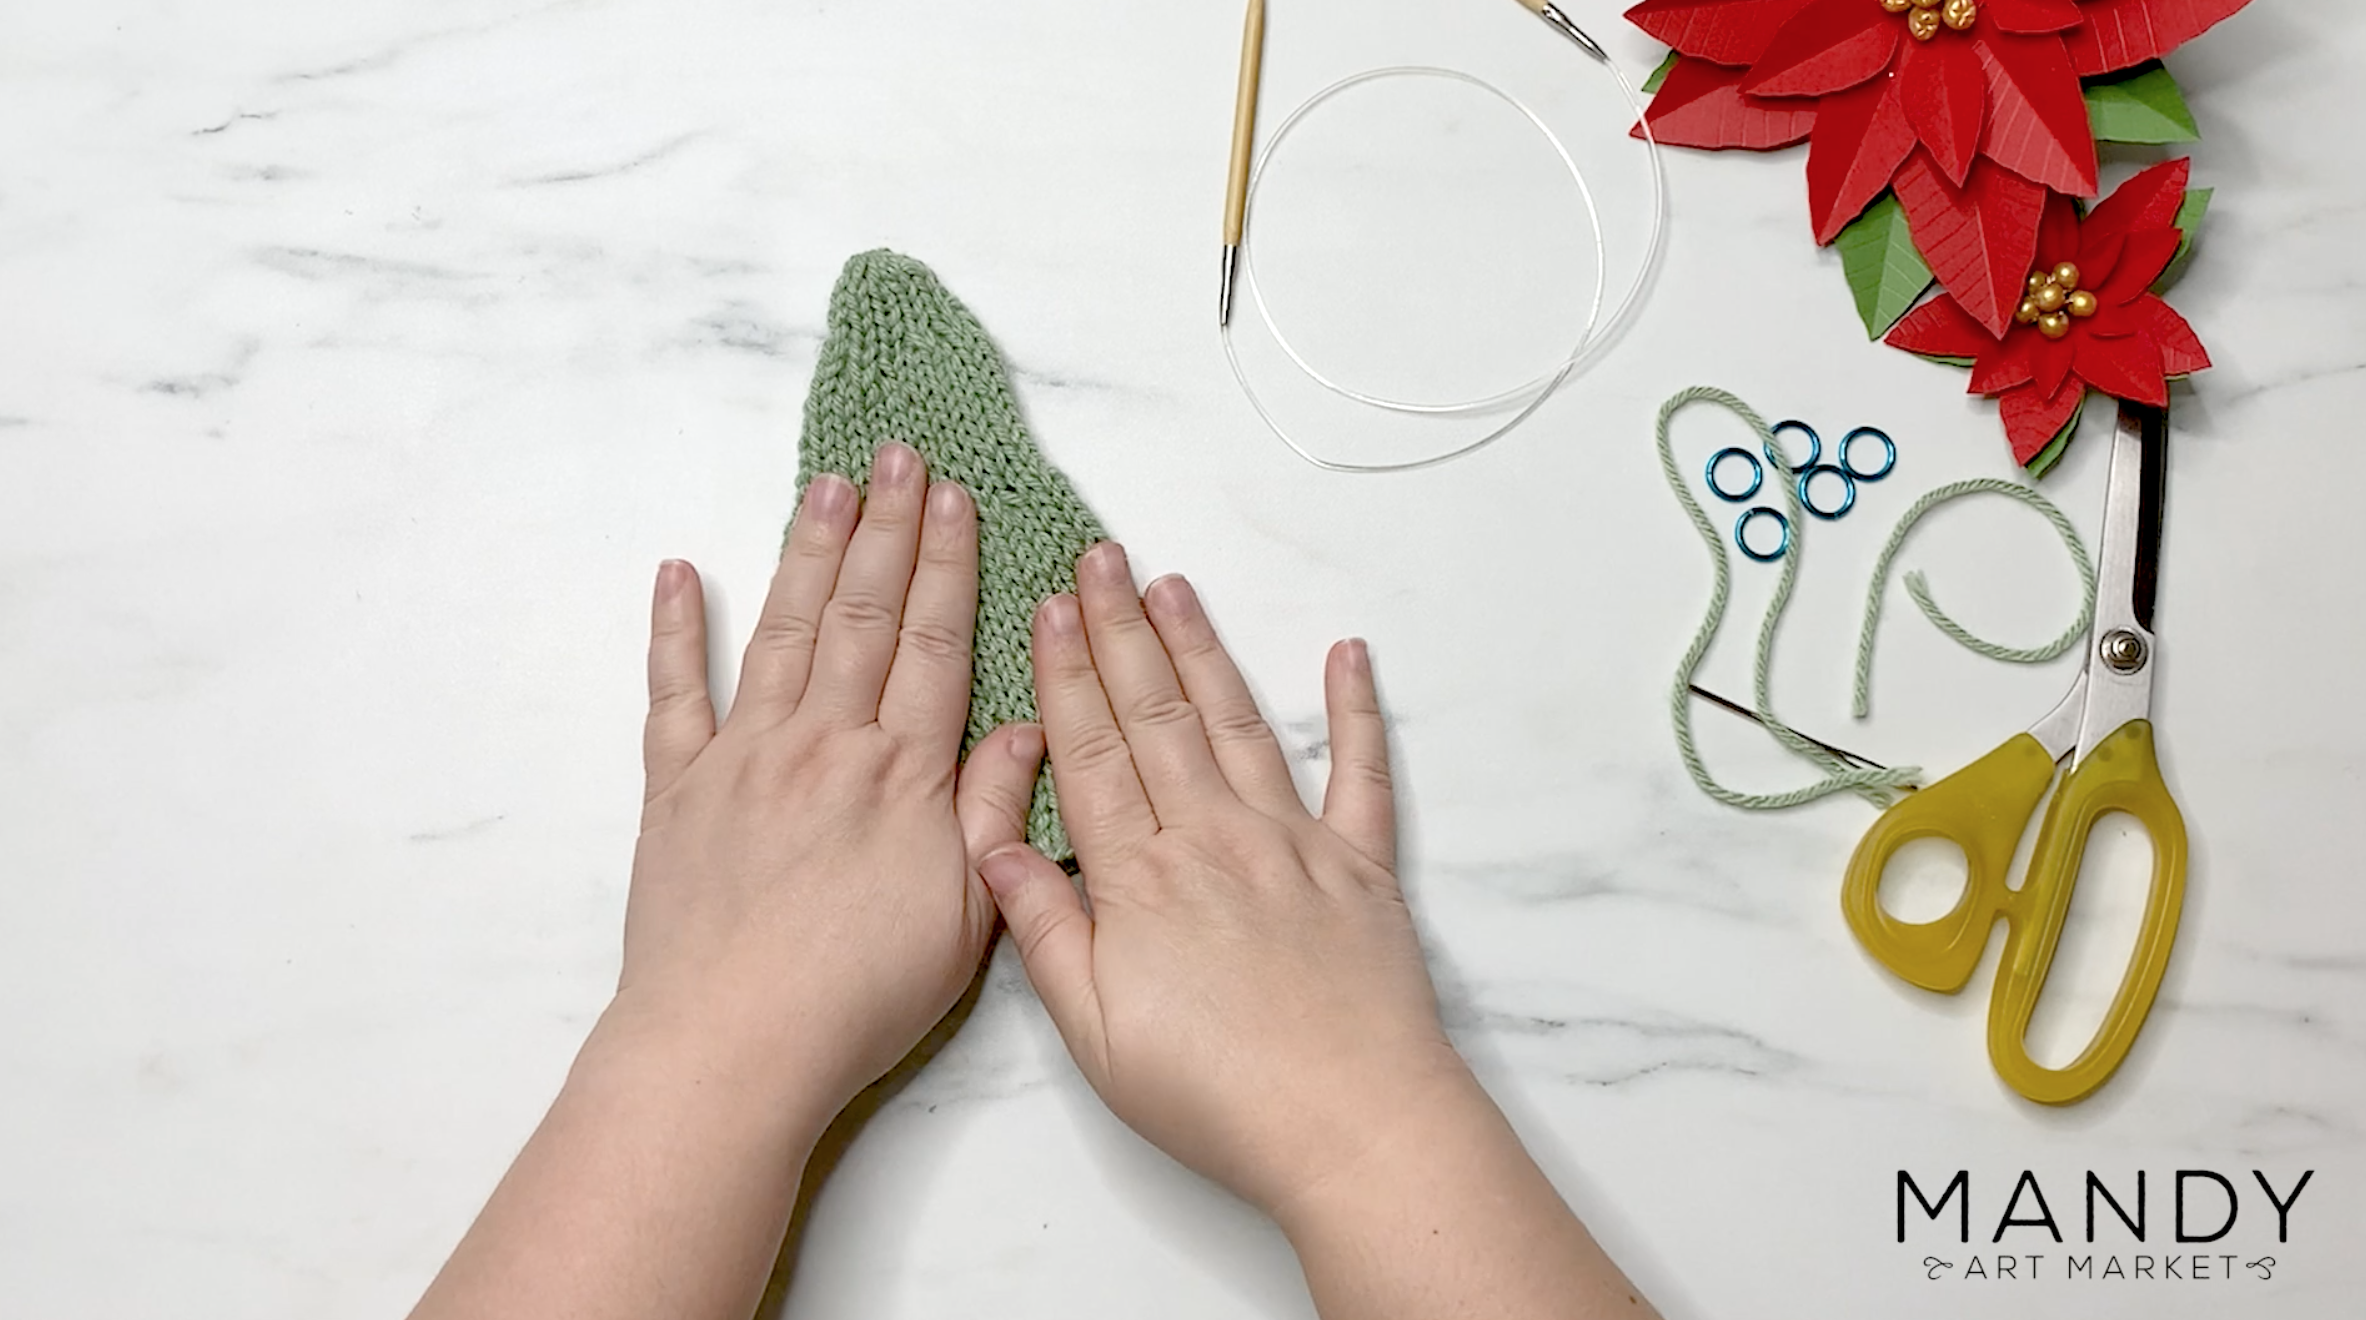
Your Knit Christmas Tree is Finished!
All done! If you want to make the tree look a bit more professional you can block the piece, but this is totally optional.
Display your knit Christmas tree on a cone-shaped form made of foam or cardboard.
Final Thoughts
In conclusion, I hope that these step-by-step instructions for making a knit Christmas tree will provide you with all the tools you need for success. My pattern for knitting a Christmas tree might help you to become a little more comfortable with knitting in the round if you’ve only knitted flat pieces previously.
Remember that these instructions are an outline only – you can customize your trees any way you like.
If you need more clarity or find some step not self-explanatory, leave me a comment below and I will get back to you as soon as possible!
May your Christmas trees be as unique and beautiful as they are fun to knit!


